Building a DIY 72TB NAS
August 8, 2023 • 9 minute read
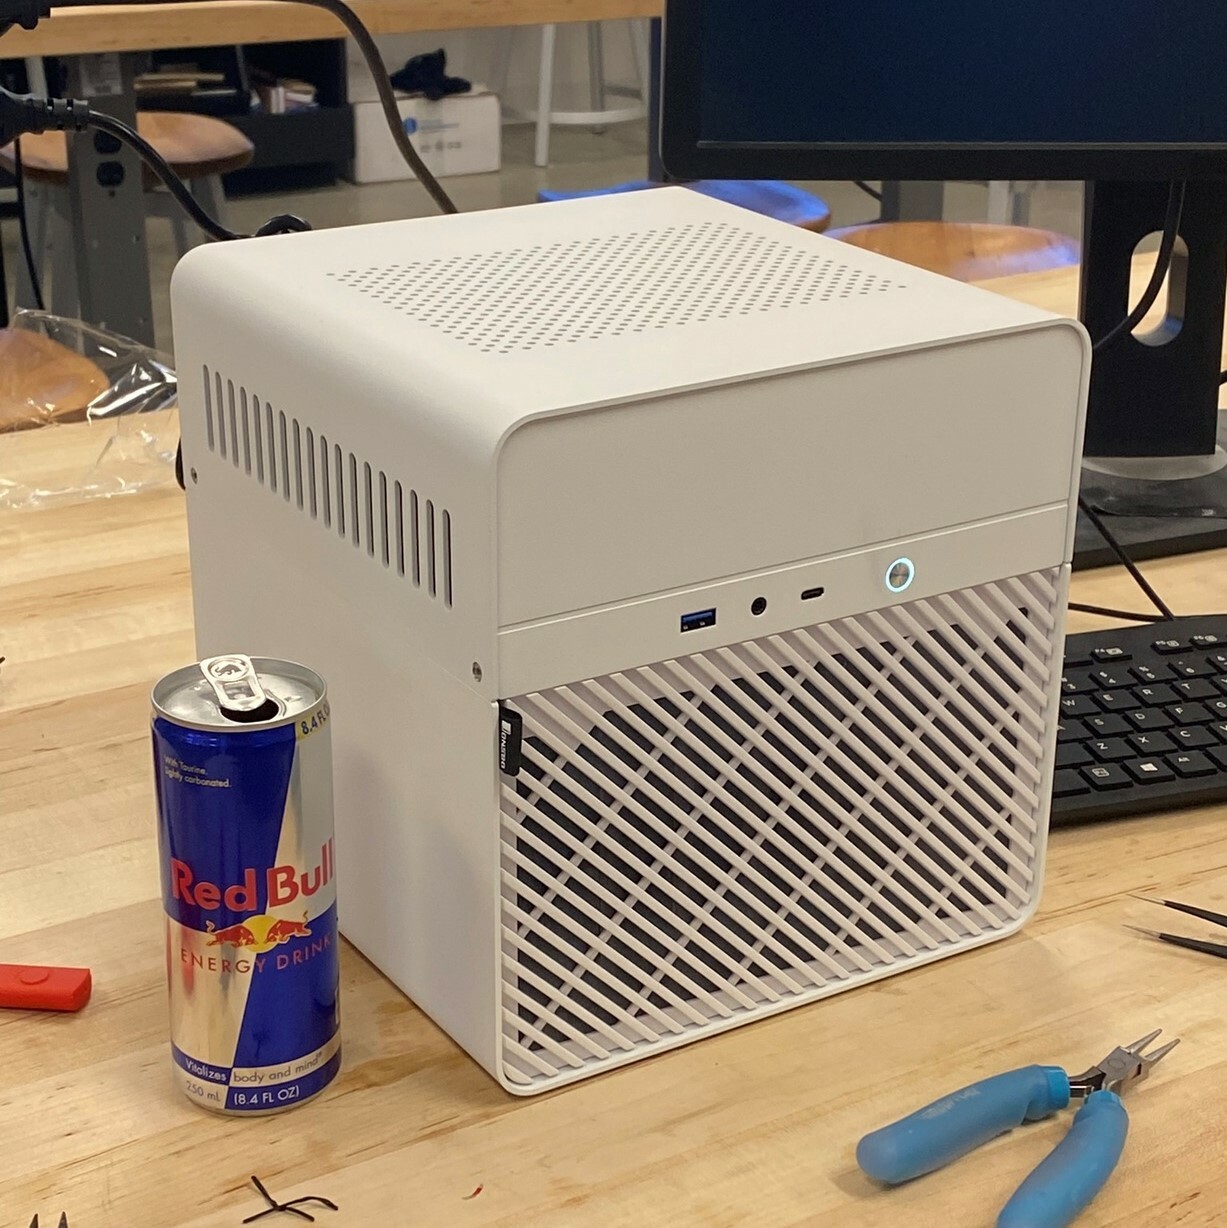
Table of contents
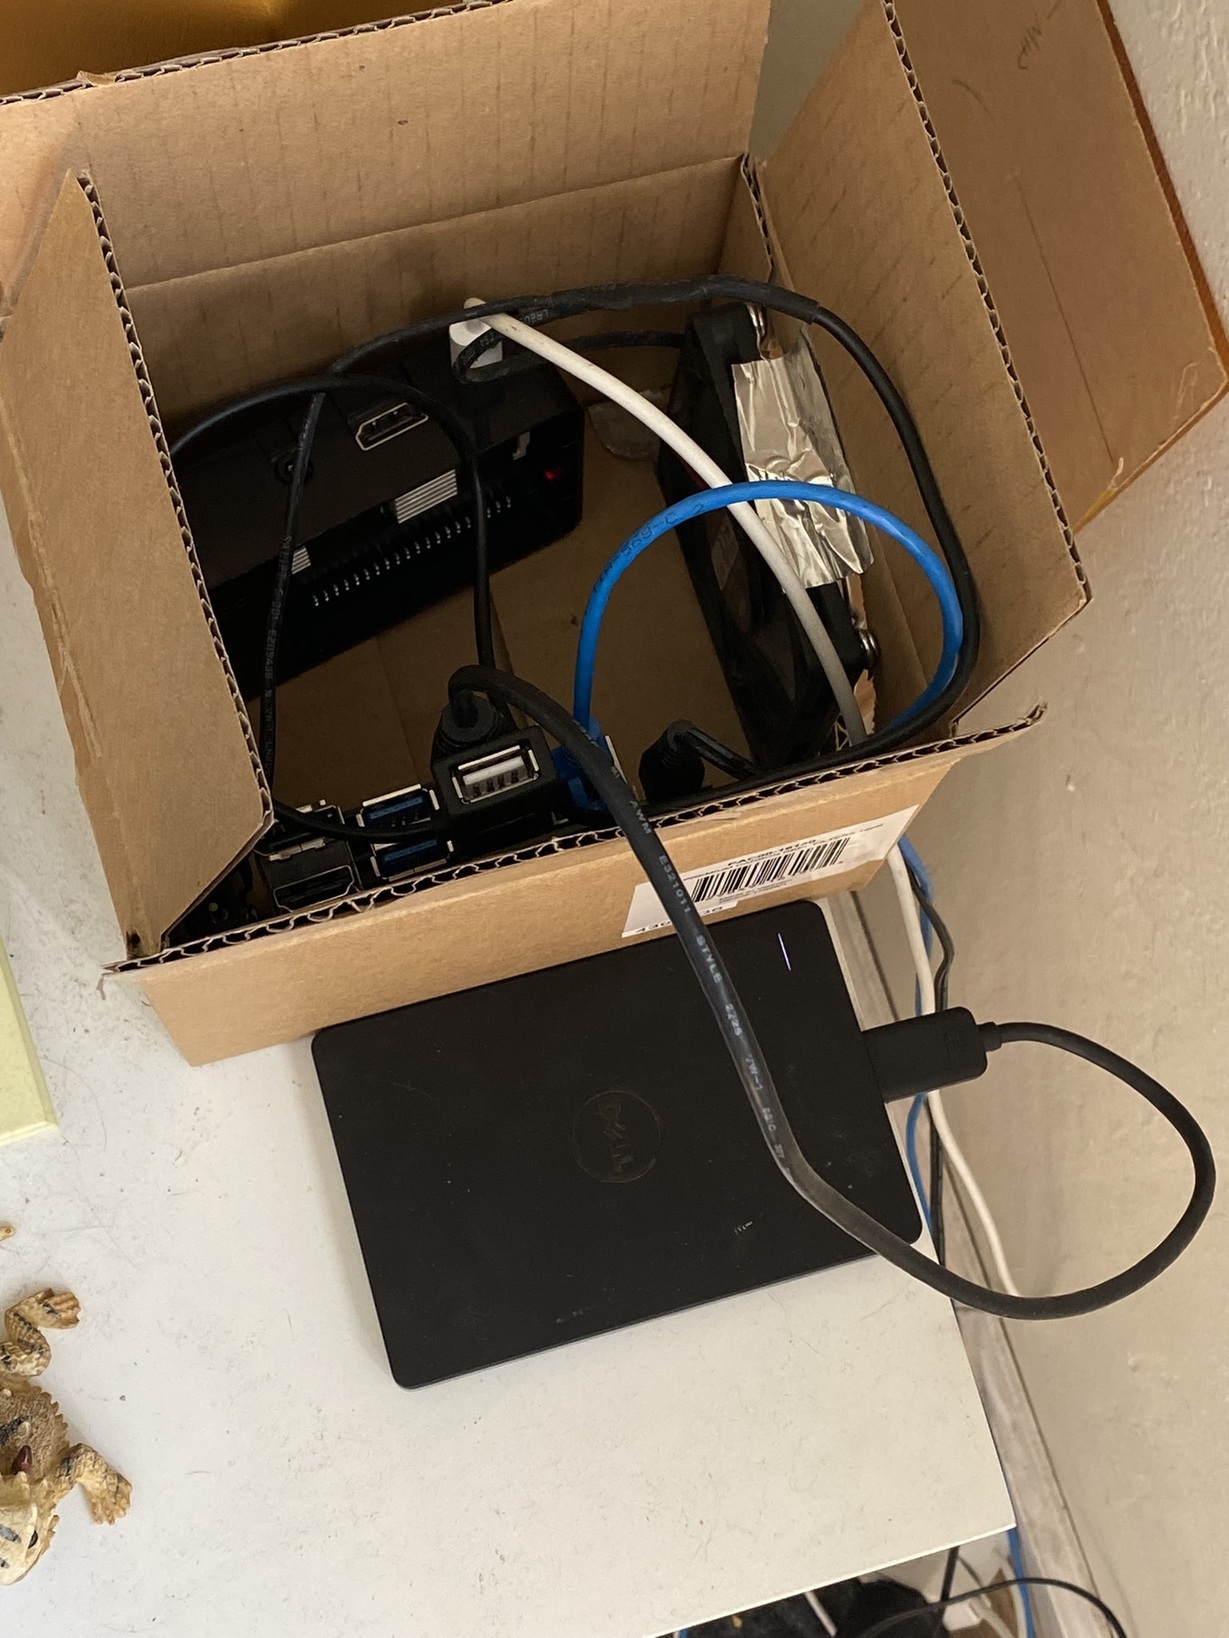
For someone in Site Reliability Engineering, my job is all about creating scalable, reliable, large scale systems. I worked on LinkedIn’s Hadoop team helping to scale our HDFS capacity to over an exabyte!. You would think that my home storage setup would be highly-available, redundant and geographically distributed. Unfortunately, my only homelab equipment is a Raspberry PI “colocated” in a cardboard box with an Nvidia Jetson hooked up to a USB hard drive.
Recently, my wife and I got married, and we were sent a download link for a huge archive with all our photos and videos. Just downloading them to my desktop didn’t seem fitting; these are super special photos to me, I should take more care in storing them! Over the years when I would get a new phone, I would take backup my old phone’s photos and videos, putting them in a random folder on an external HDD. While I have some of these backups, I realized that Google Photos wasn’t working for months at a time, and I had lost photos from high school and college. Videos I had made with my friends over the years were hosted on Facebook or Youtube, but what if those services went away? I would have zero recourse in getting them back.
Those memories are priceless, and worth far too much to trust entirely to someone else.
I started looking into NAS systems. NAS stands for Network-Attached-Storage and it’s effectively a dedicated computer responsible for managing files and making them available over the network. Although many modern NAS systems are more than capable to host other services for hosting a mesh VPN, DNS, email, and many more services.
I first looked at off-the-shelf NAS systems, stuff made by Synology and others. You buy it, plug it in, plug some drives in, and you’ve got a NAS. Somewhat expensive for what you get, but since you’re reading this on moll.dev you know where this is going next 😉, I decided to build my own.
Now, I could go over all the reasons to DIY vs Buy, but they’re boring, and my answer is always going to be it’s more fun to DIY shit. I love picking out parts and building stuff, if I can help it.
Here’s some functional requirements for my NAS:
- Lots of storage
- Reliable
- Repairability
- Ability to self-host services
Non-functionally:
- Uses consumer hardware - potentially less reliable, but more readily available.
- Quiet - this machine is going to run in my home office, not a datacenter.
- Low Power consumption - this machine is going to be running 24/7 and I’m paying for power.
- Aesthetically pleasing - I hate black box home lab stuff, especially if it’s going to be visible in my home.
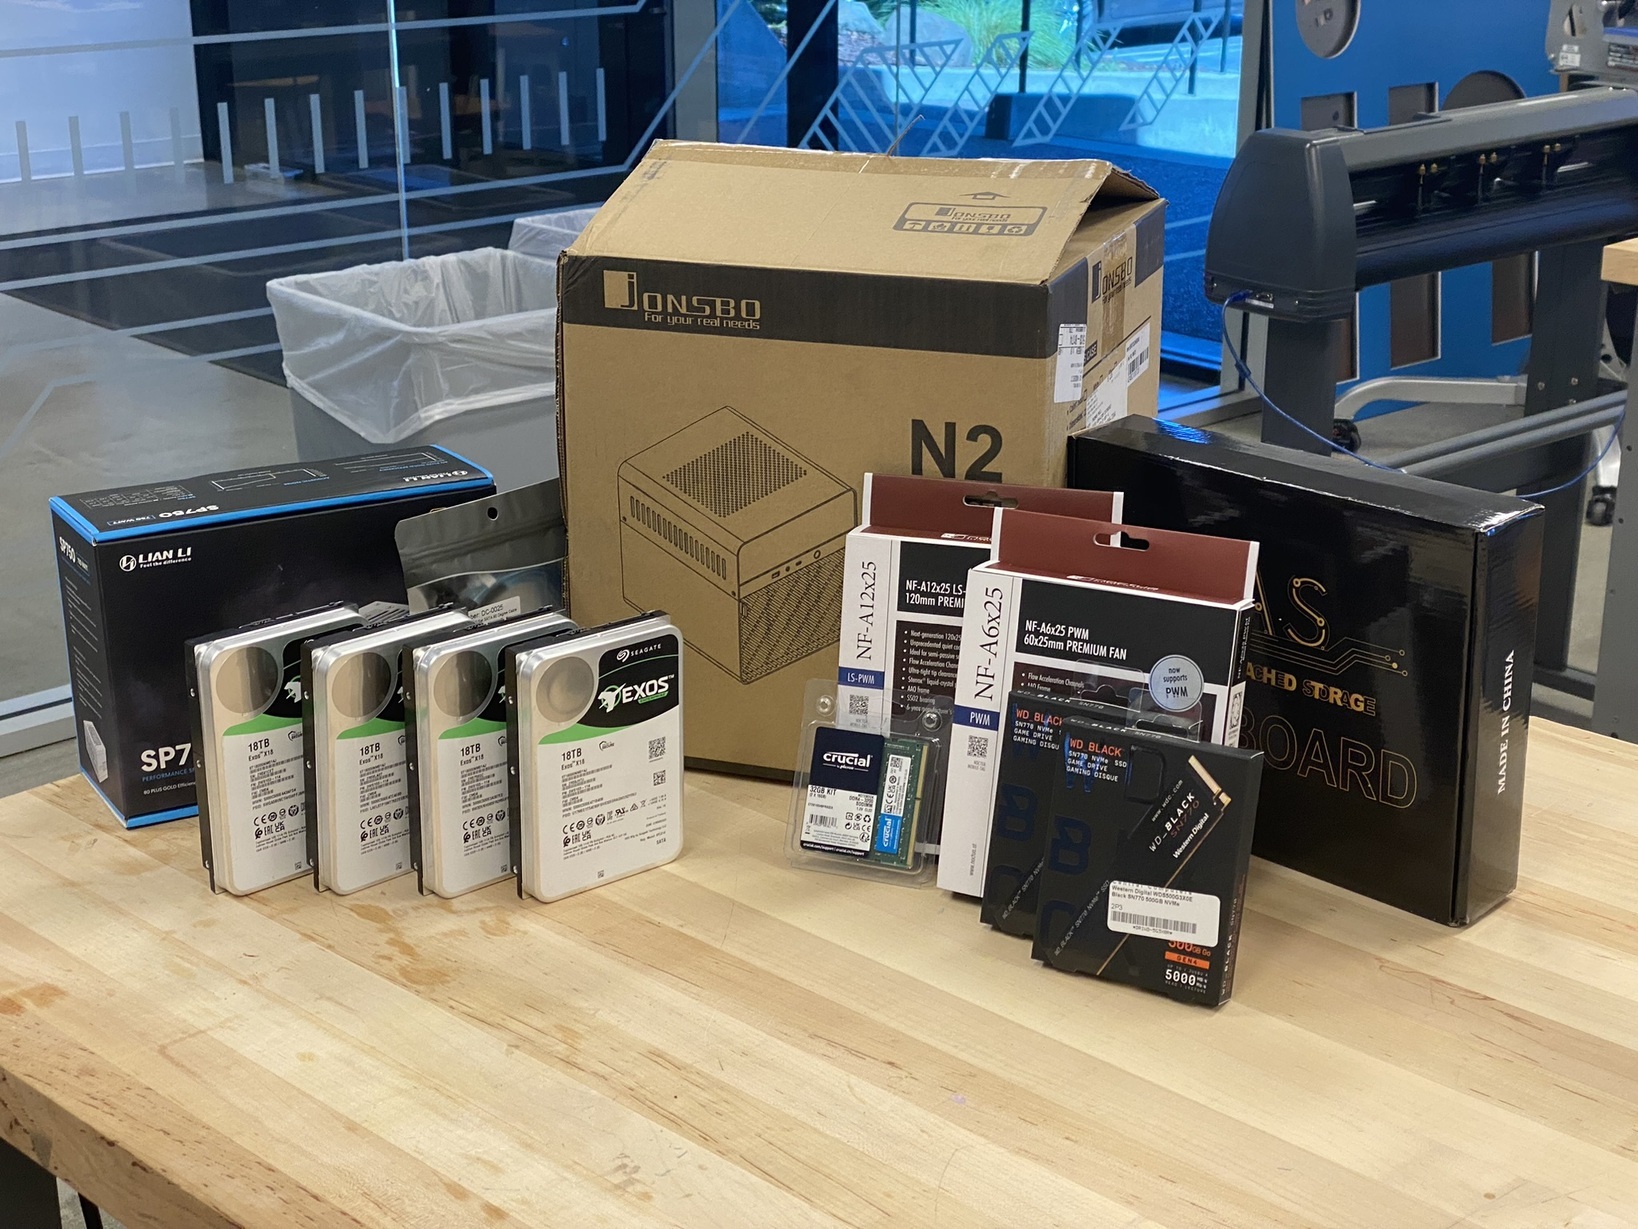
The Parts
| Part | Component | Price USD |
|---|---|---|
| CWWK J6413 | Motherboard | $189 |
| Jonsbo N2 | Case | $150 |
| WD Black 500GB NVMe M.2 (x2) | OS Drive | $60 |
| Lian Li SP 750W | PSU | $109 |
| Crucial (2x16GB) DDR4 3200MHz | RAM | $57 |
| Total | $565 | |
| Seagate Exos Pro 18TB HDD (x5) | Data Drives | $825 |
| Total w/ Storage | $1,390 |
Motherboard + RAM
I went with the CWWK J6413 also known as the “Topton”, a purpose built NAS motherboard by a company out of Shenzen. You can find this board on AliExpress with some sellers drop shipping them through Amazon.
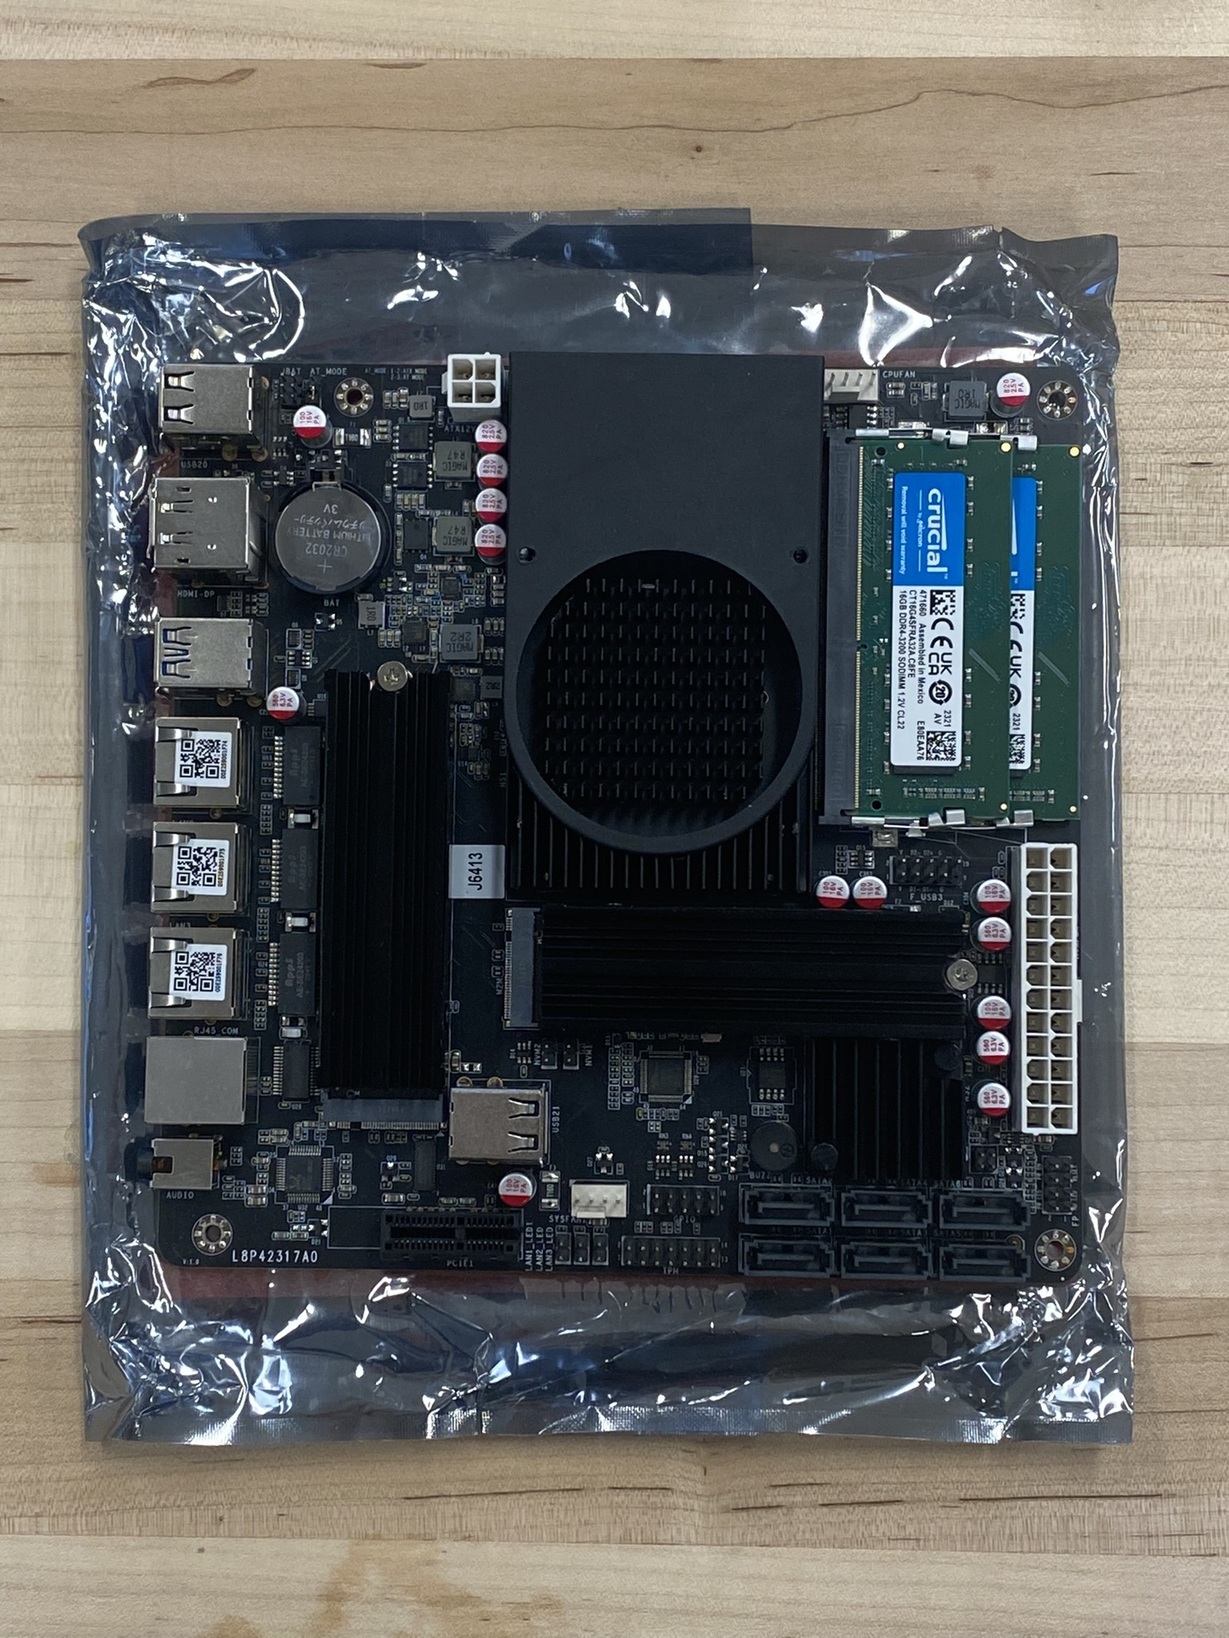
This board will do it all, it has an Intel Celeron J6413 which can turbo up to 3.00 Gz, it also has an Intel iGPU for hardware video transcoding. More than enough to host files and powerful enough to run numerous Docker containers for other fun services.
A word to the wise about buying unbranded hardware from China: expect zero support out of the box. You will be relying on forums and other people to get support for this board, if you’re lucky and get a sales email from the original supplier, they can be amenable to helping you out. Don’t expect the GeekSquad white glove experience here.
RAM wise: literally nothing to write home about. It’s DDR4 laptop ram, 32GB is more than enough to run some Docker containers.
Case + Power
Literally anything could work as a case, as long as it has enough hard drive bays. Throw this in an old PC case if you’d like and save the $150. I’m a particular individual and just enjoy cool looking things, so I went with the most IKEA type home lab I could find.
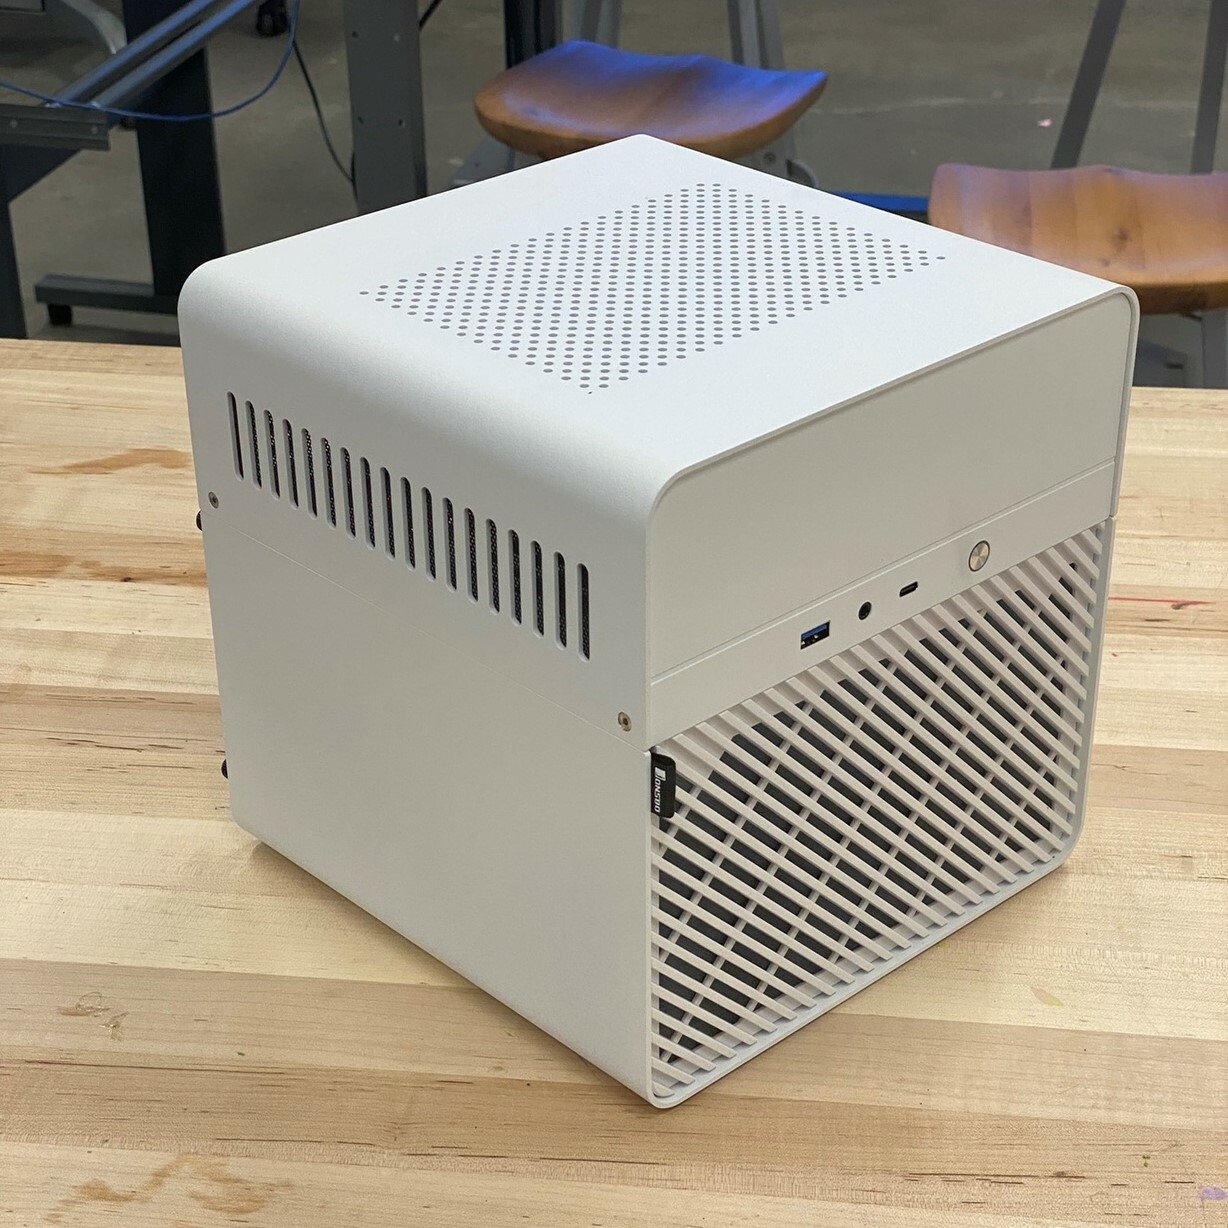
The Jonsbo N2 is a joy, it’s bigger than its younger brother the Jonsbo N1, with a lot more space to build in. It’s got a hotswap backplane for hard drives, supports Mini-ITX motherboards, SFX power supplies and looks very cute in white. Again, Jonsbo is a small brand, but hey it’s a hunk of metal.
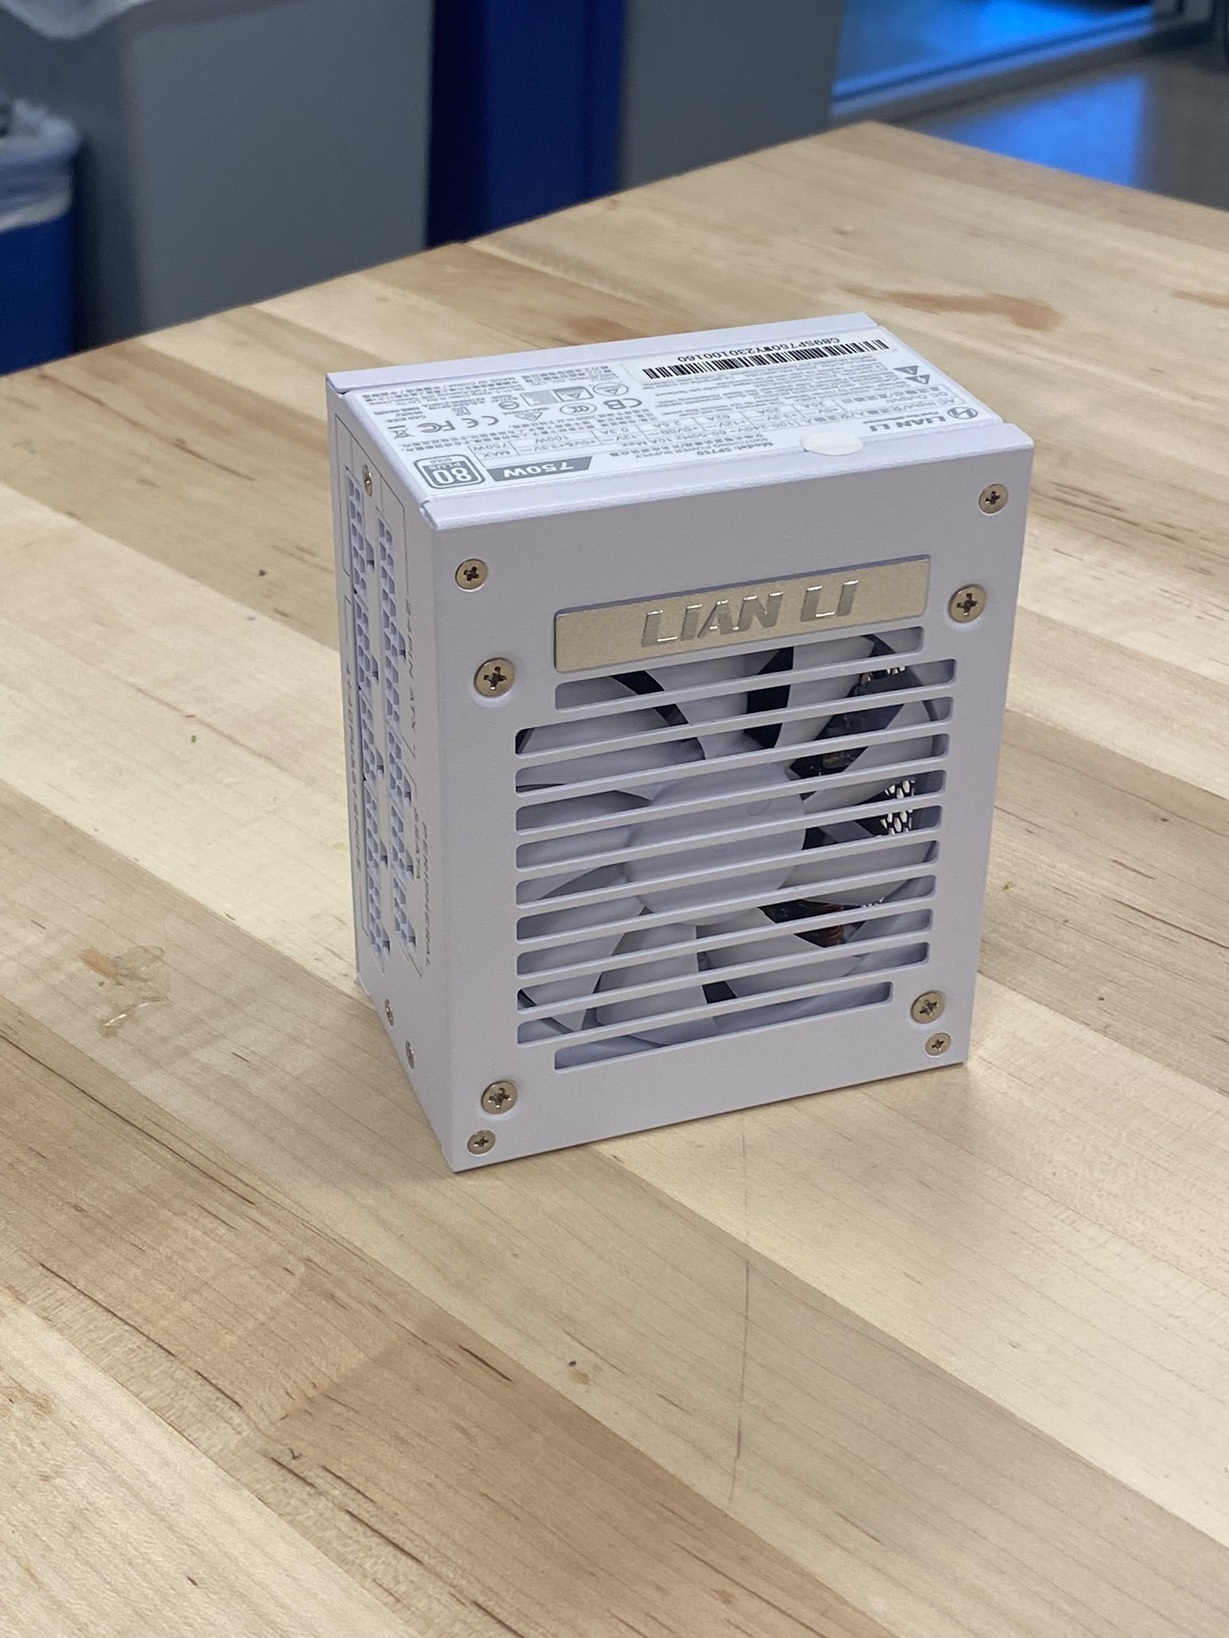
The PSU I went with is the Lian LI SF750. It’s a small form factor PSU with a frickin’ Platnium Power rating from Cybernetics’ test lab. The main reason I went with this one, it’s efficient as heck, especially for low (<30W) usage, it’s passively cooled until 200W meaning the fan will almost never kick on, and it matches my case. Enough said.
Storage
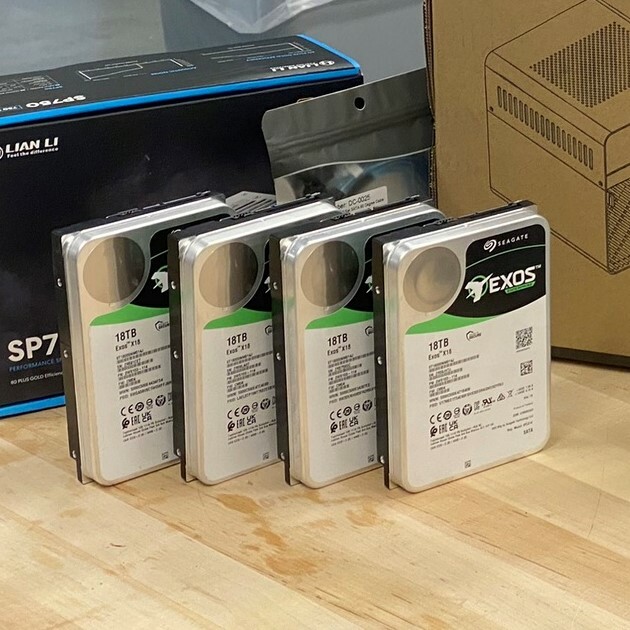
As this is build is effectively a mini computer slapped onto a pile of hard disks, I had a ton of choices. There are plenty of guides on how to pick out a consumer drive, where to find them for cheap, etc. However, the deal of the century dropped into my lap for some 18TB Seagate Exos Enterprise drives and I HAD to buy them. Actually, I might buy even more because it was such a great deal. A local UNIX wholesaler had a ton of them refurbished from a data center that had over ordered drives. They only had 60 hours of power-on-time too.
With a ZFS vdev mirroring setup, this gives me a whopping 32TB of space at $22/TB Insane.
Link to ZFS calculator
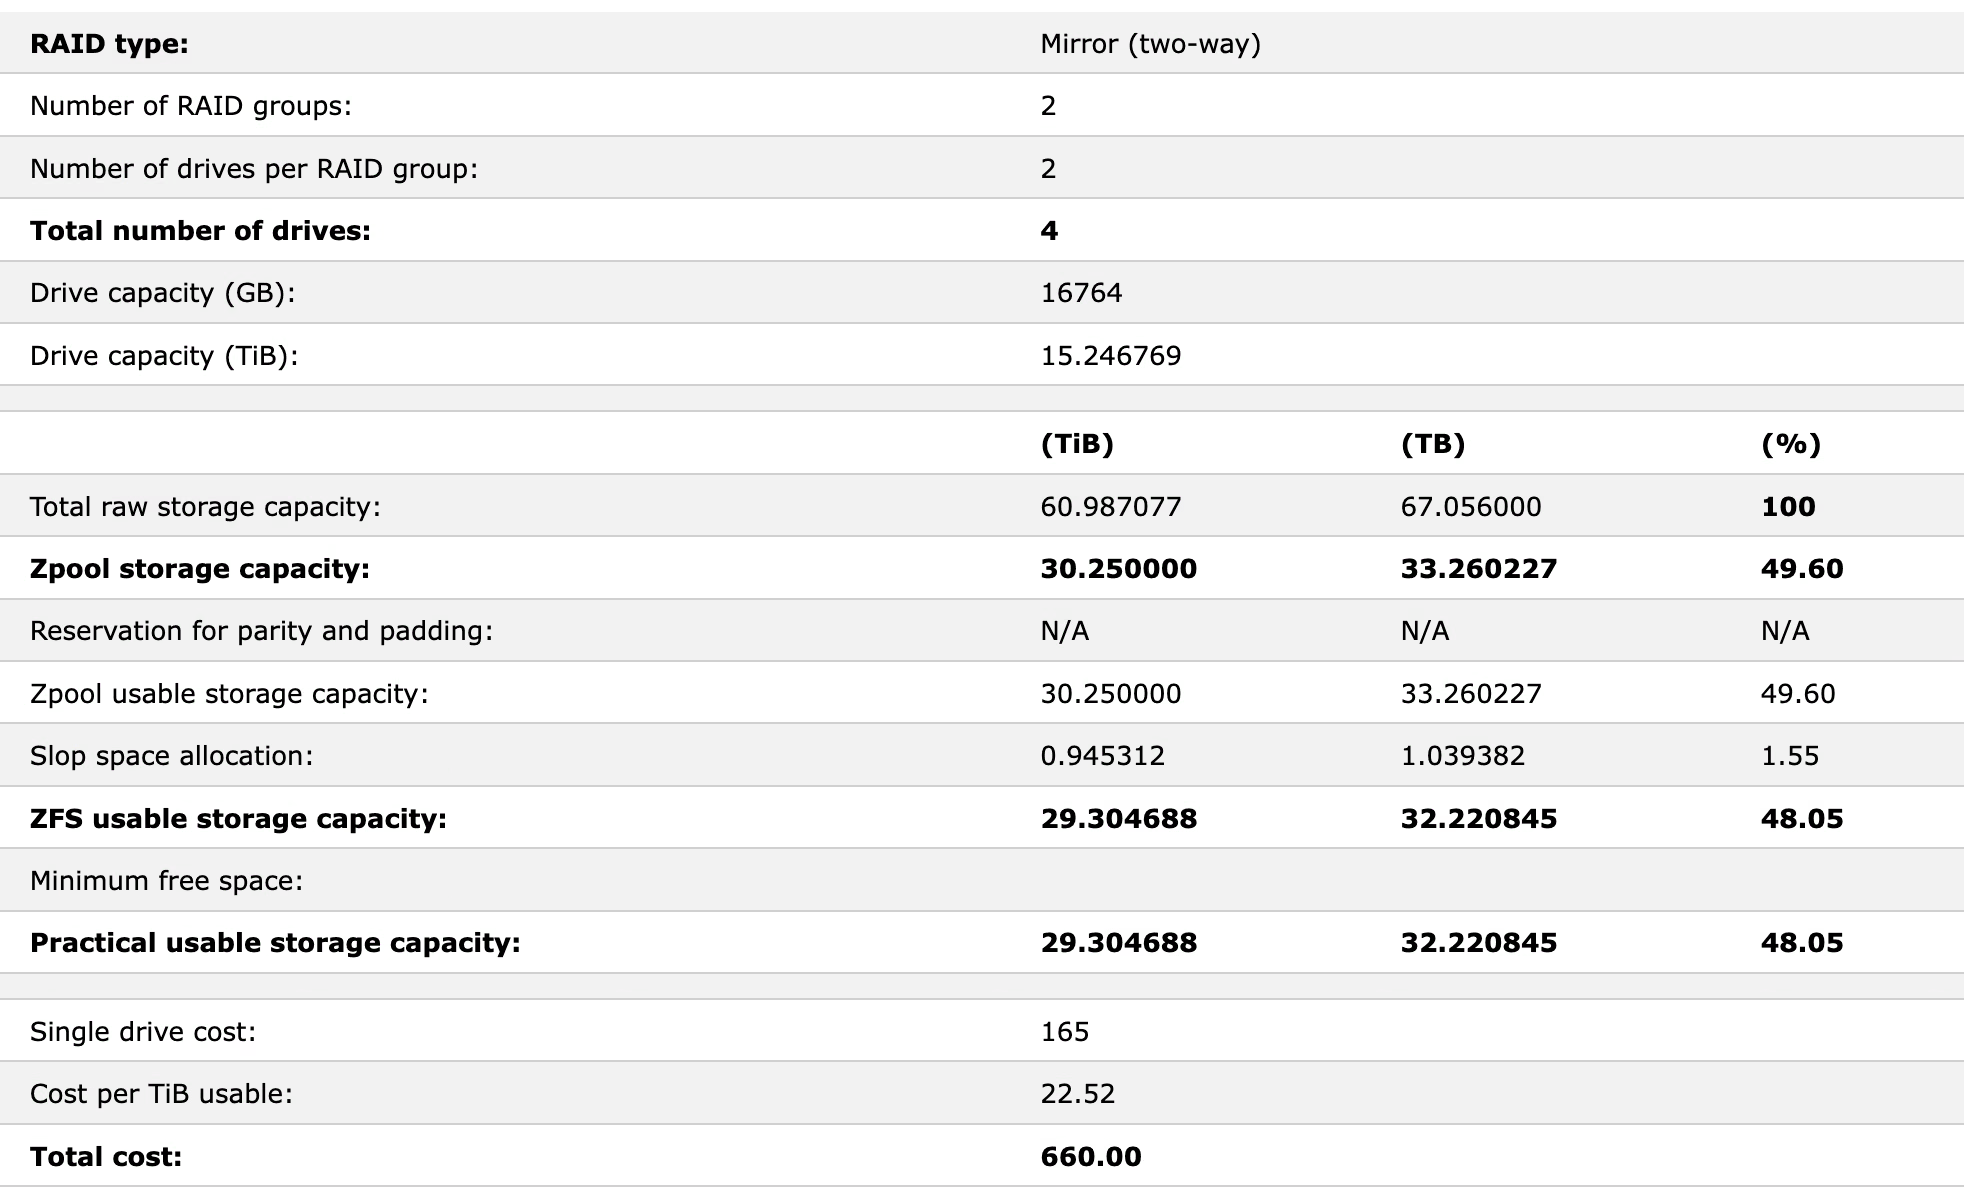
Since my case only holds 5 HDDs, I went with a 4 drive + 1 cold spare setup. The 4 hot drives are split into two mirrored zdevs which is where two devices effectively act as one doubly redundant 18TB hard disk. Add two of these together and subtract for ZFS redundancy, etc. You get 32TB with the ability to support 1 disk failure (or 2 if you’re lucky). I specifically chose mirrored vdevs over ZRaid N1 or N2 because the time to rebuild is much faster. I can just swap the extra HDD into my chassis, and recover, hopefully before another drive dies.
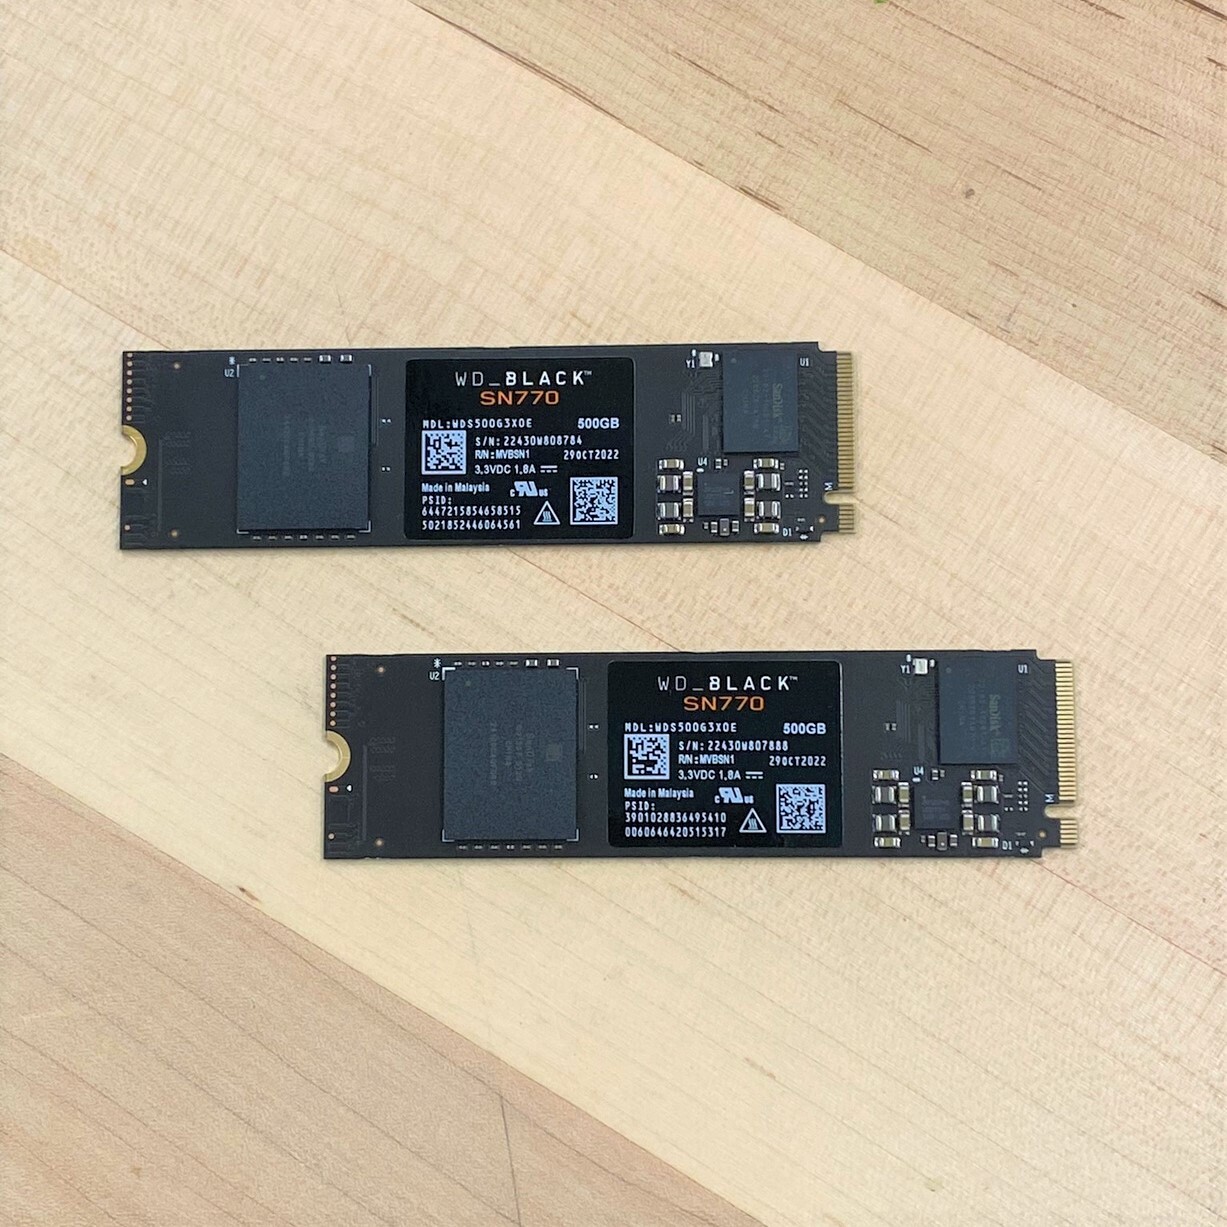
Operating System drive wise, I just went with two cheap M.2 NVME 500GB WD Drives in a RAID1 configuration, plugged into the motherboard. I can lose one drive, replace it and keep my system up and running. Super cheap, fast, and ubiquitous in case of failure.
Enzovoort
(et cetera in Dutch)
Of course anything worth doing is worth over-doing. I’ve also purchased a few extras that will make this build a bit nicer to build and improve the thermal performance along with keeping it quieter.
In no specific order
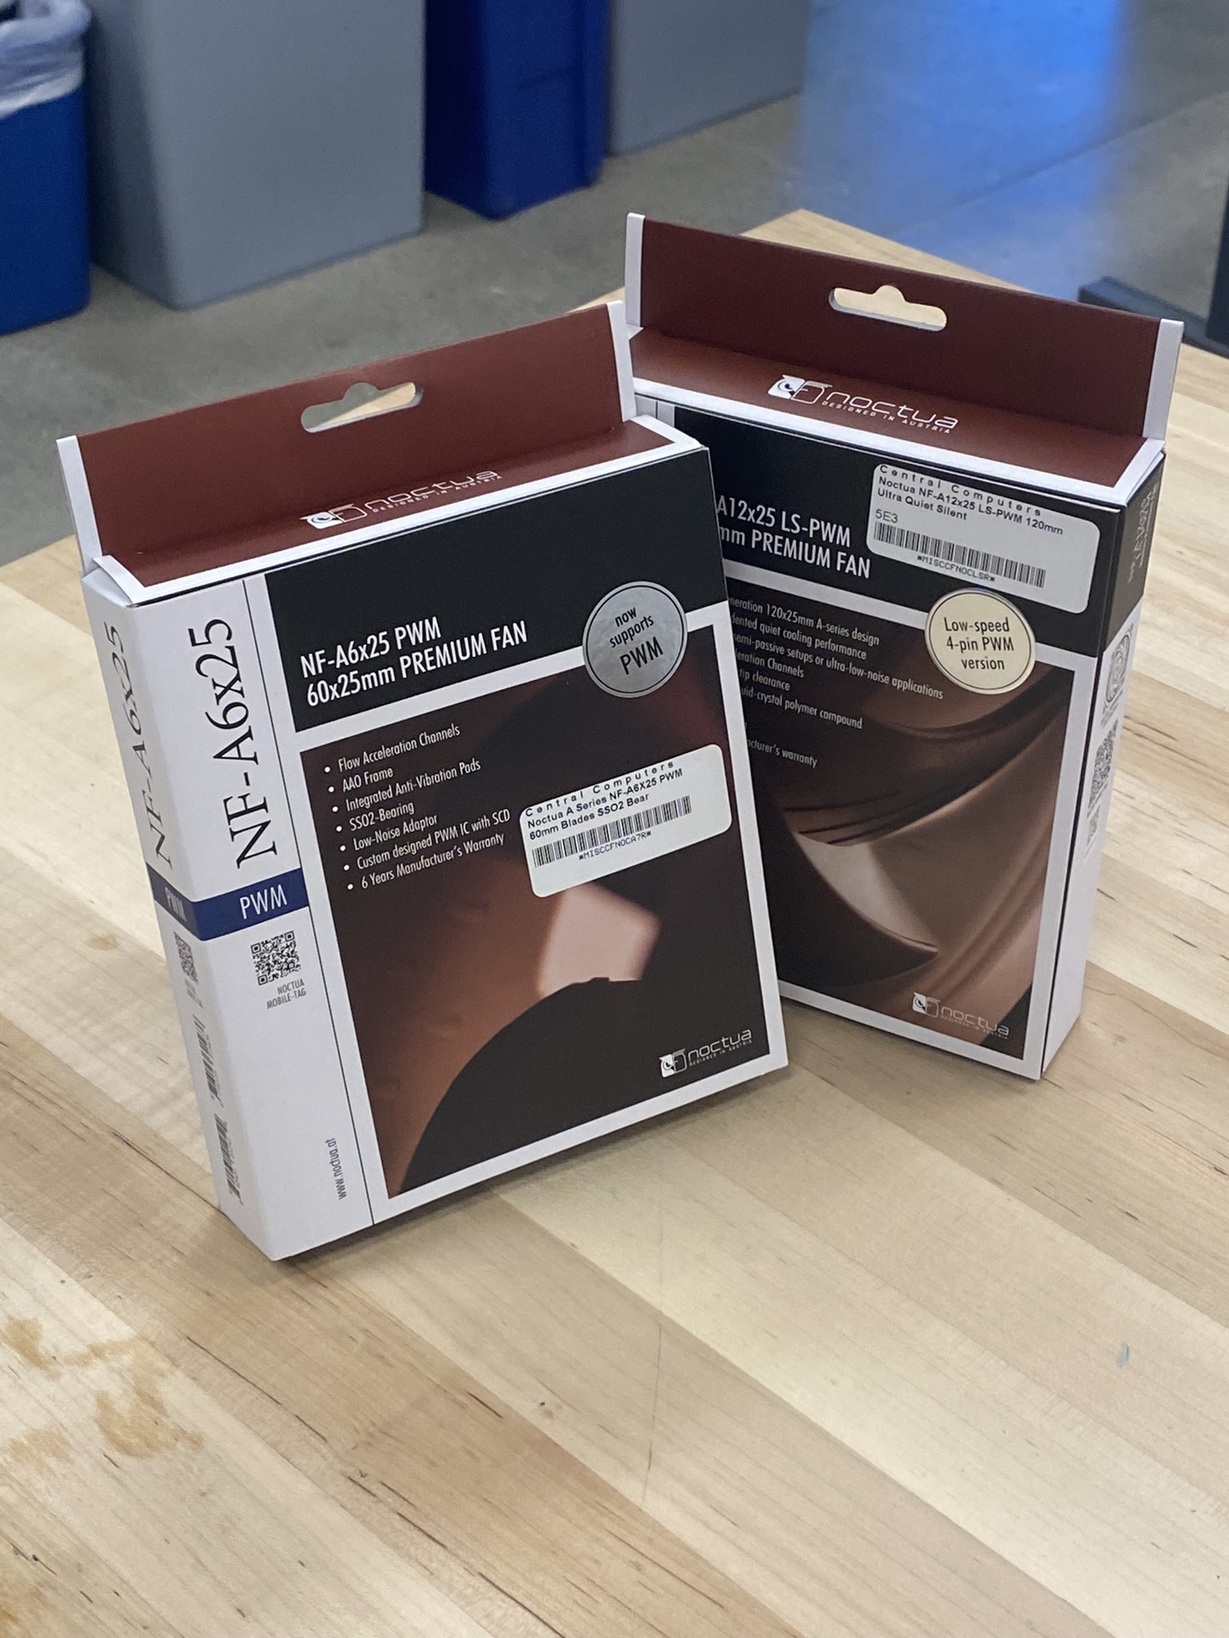
- Noctua 60x25mm 12v Fan
- Noctua 120x25mm 12v Fan
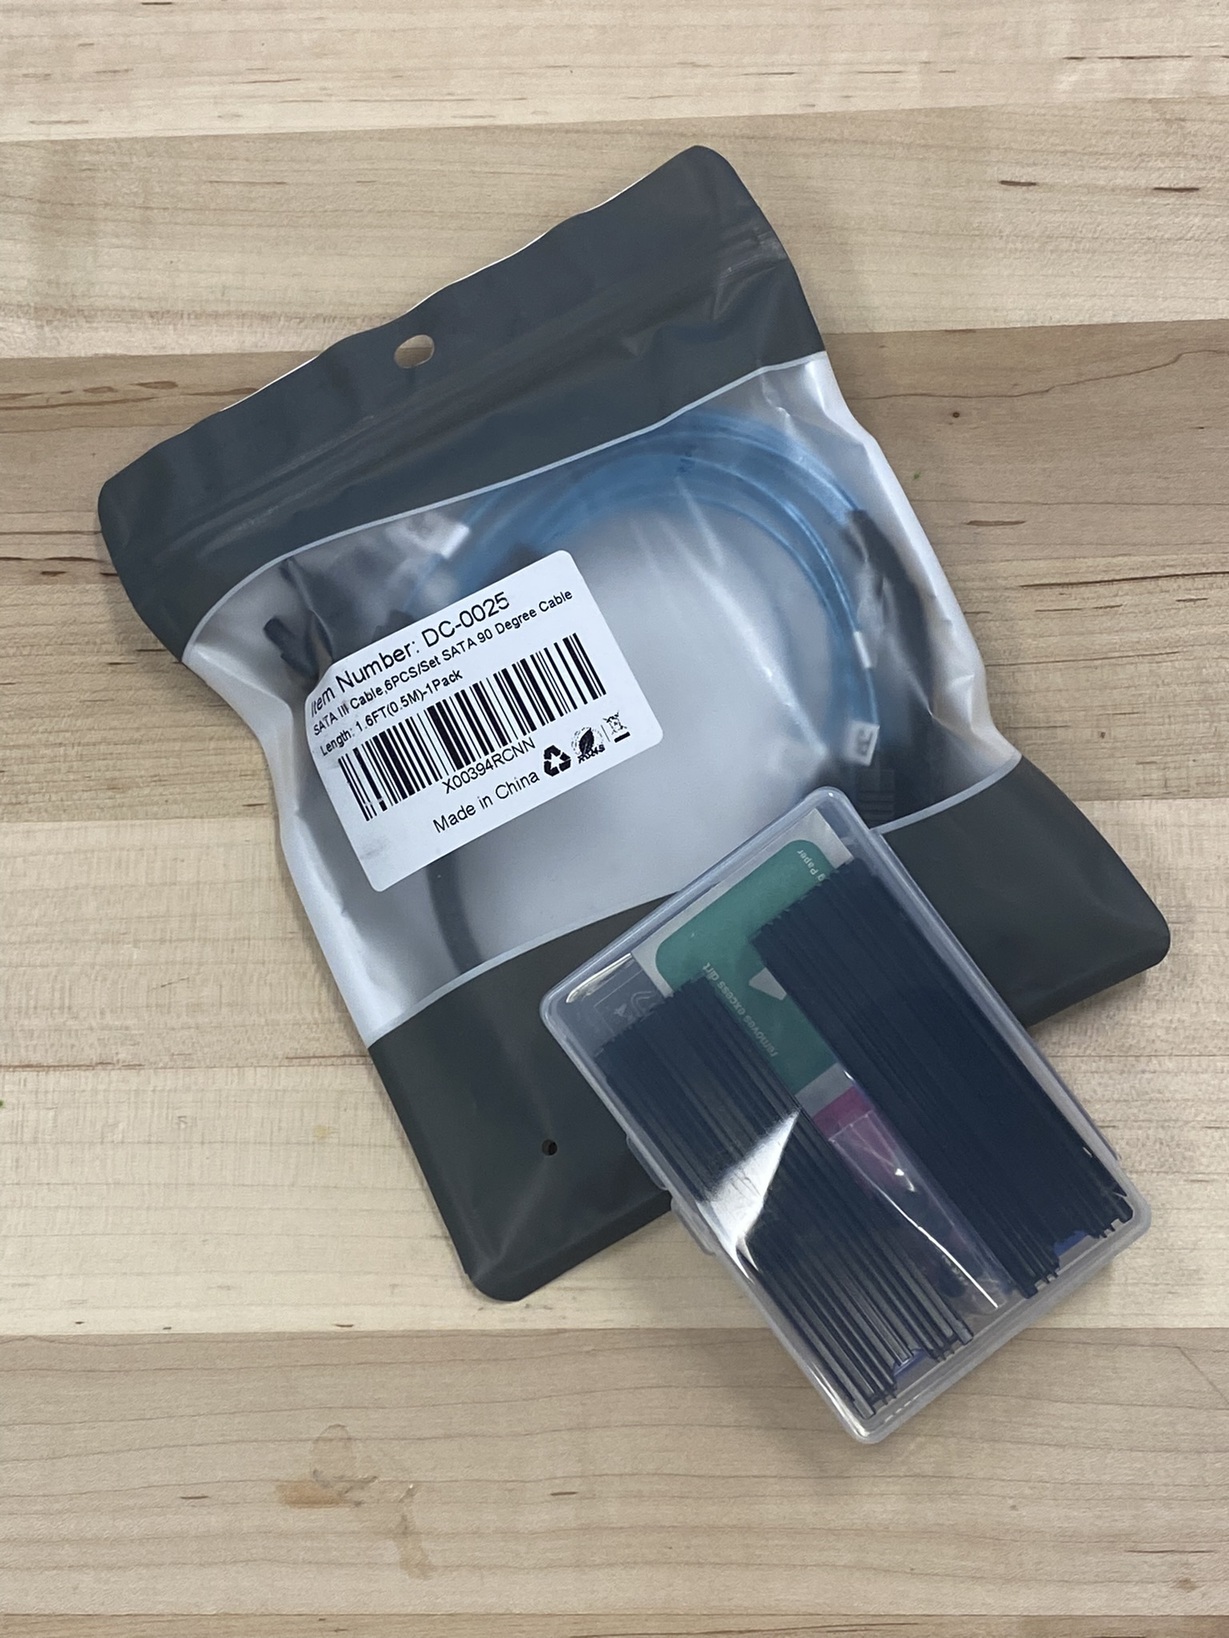
- Server style 6x SATA connector
- M.2 Heatsinks
- 40mm x 12mm MOSFET Heatsinks
If you’ve got the extra money to spend (~$100), I would recommend these upgrades.
The Build
Now that we’ve got our parts, let’s get to building. If you’ve build a computer before this will all be super familar. However, with a smaller case there’s some necessary order of operations for cable routing.
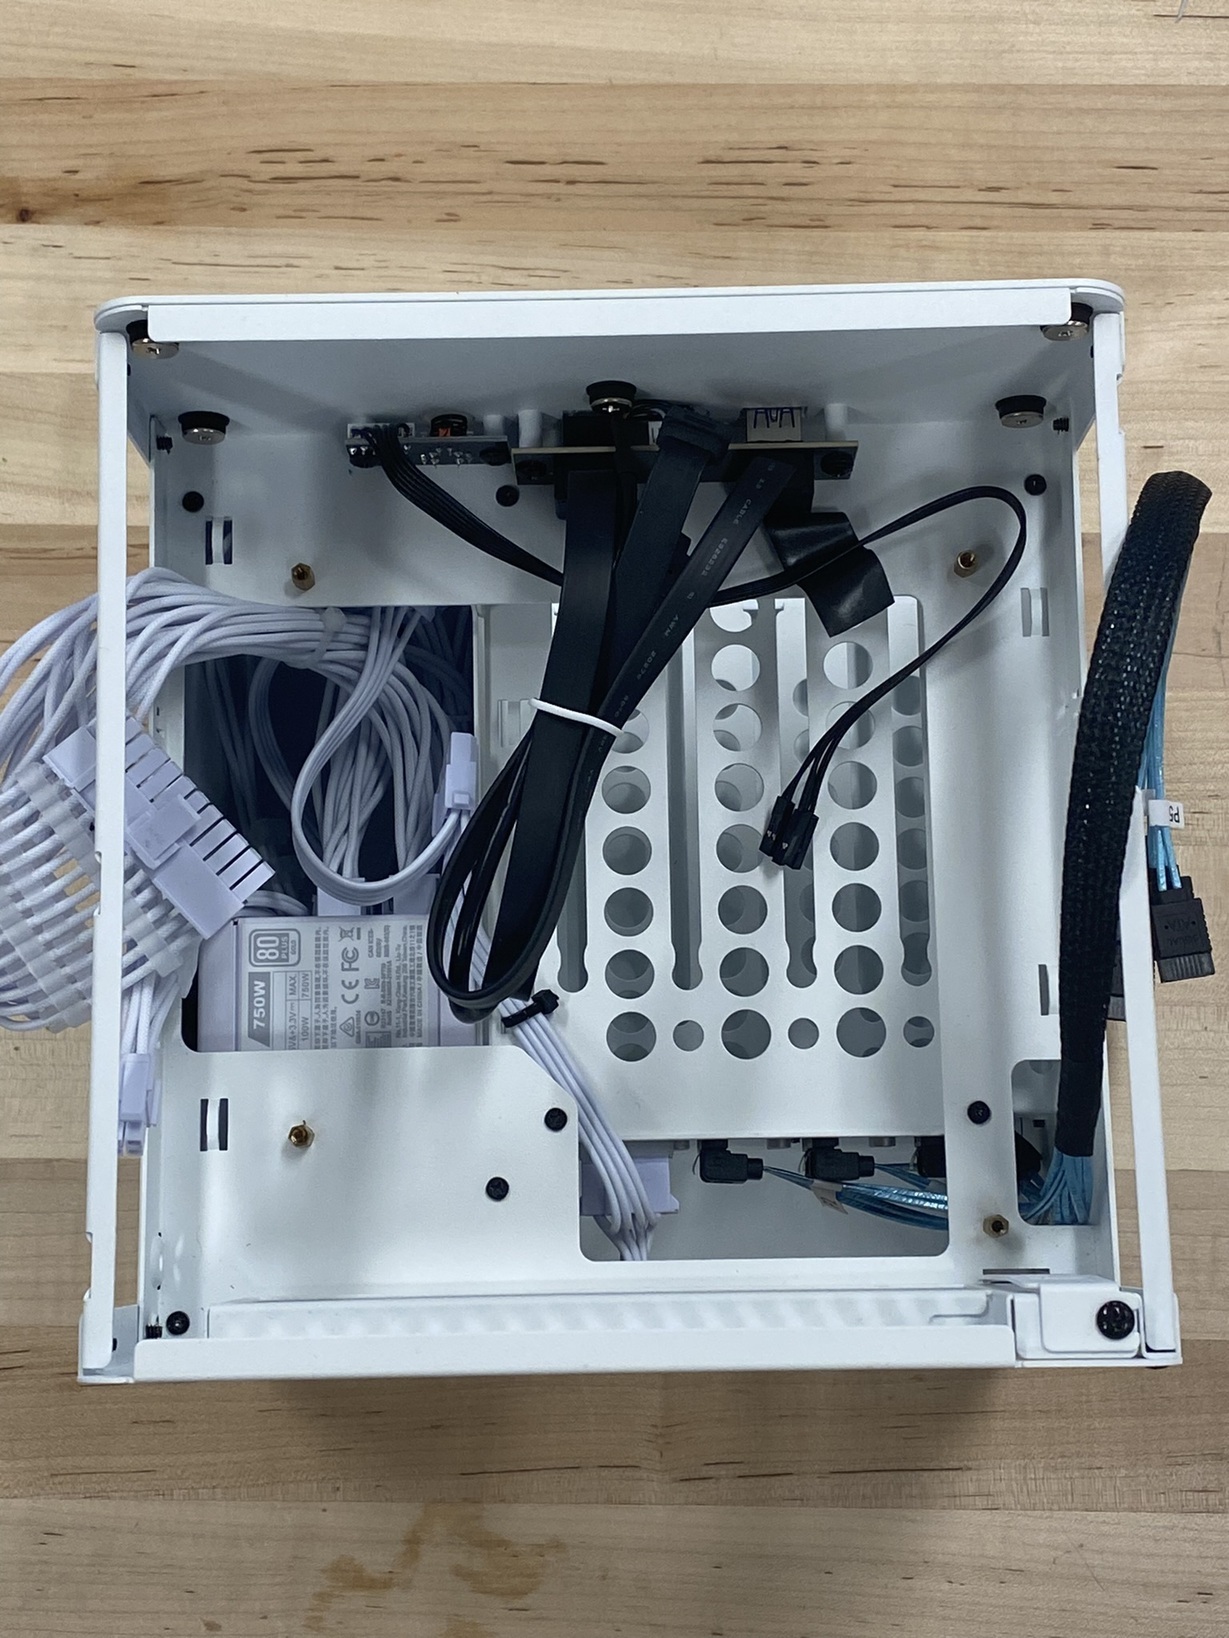
Step 1. Install PSU and cables
I first got the necessary power cables routed. A single 24pin CPU connector, an additional 4pin CPU connector, and a Molex accessory connector for the drive backplane.
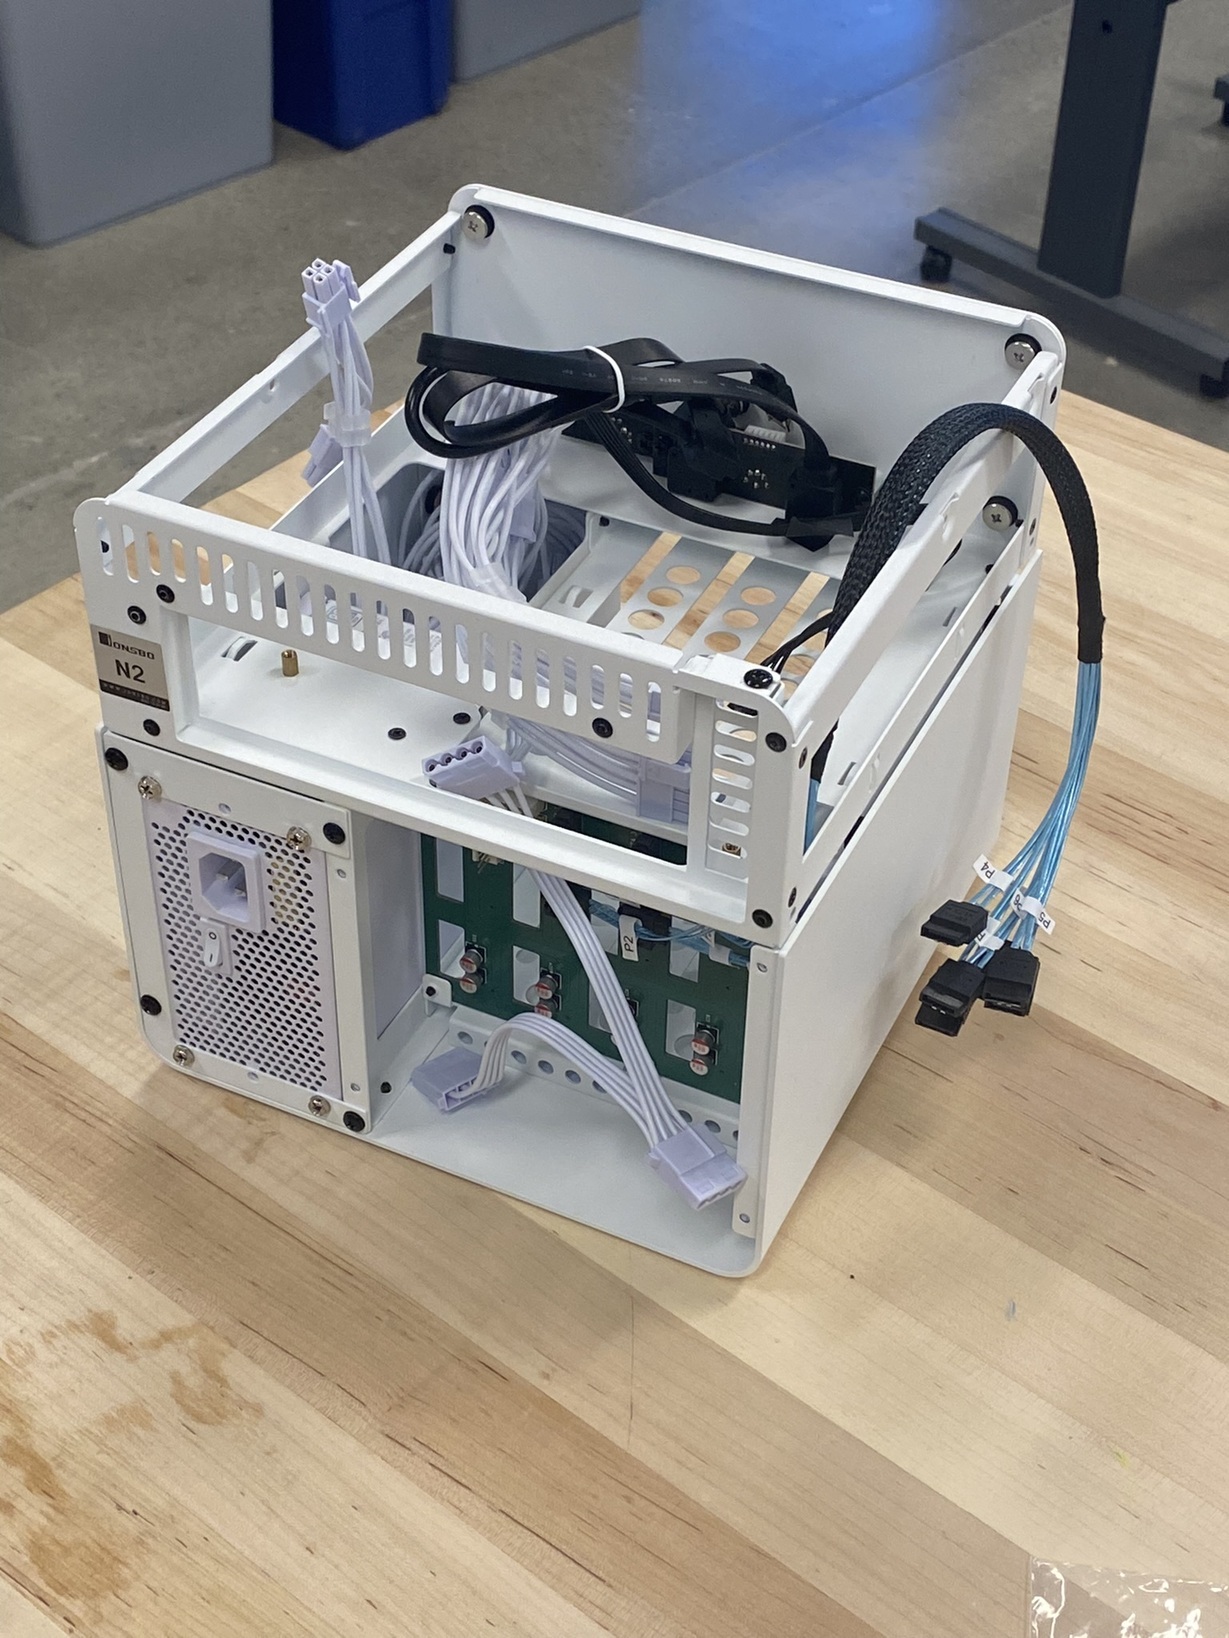
I then routed the SATA cable bundle from the backplane in the bottom of the case up to the top part of the case.
Step 2. Install RAM + SSD with Motherboard
Next, I mounted the SSDs in their heatsink cases, and then mounted them to the motherboard. I seated the RAM into place as well. After putting in the motherboard I/O plate, I mounted the motherboard into the case, attaching only the power button and power LED cables from the front panel (this board doesn’t have an internal USB3 header or audio header anyways).
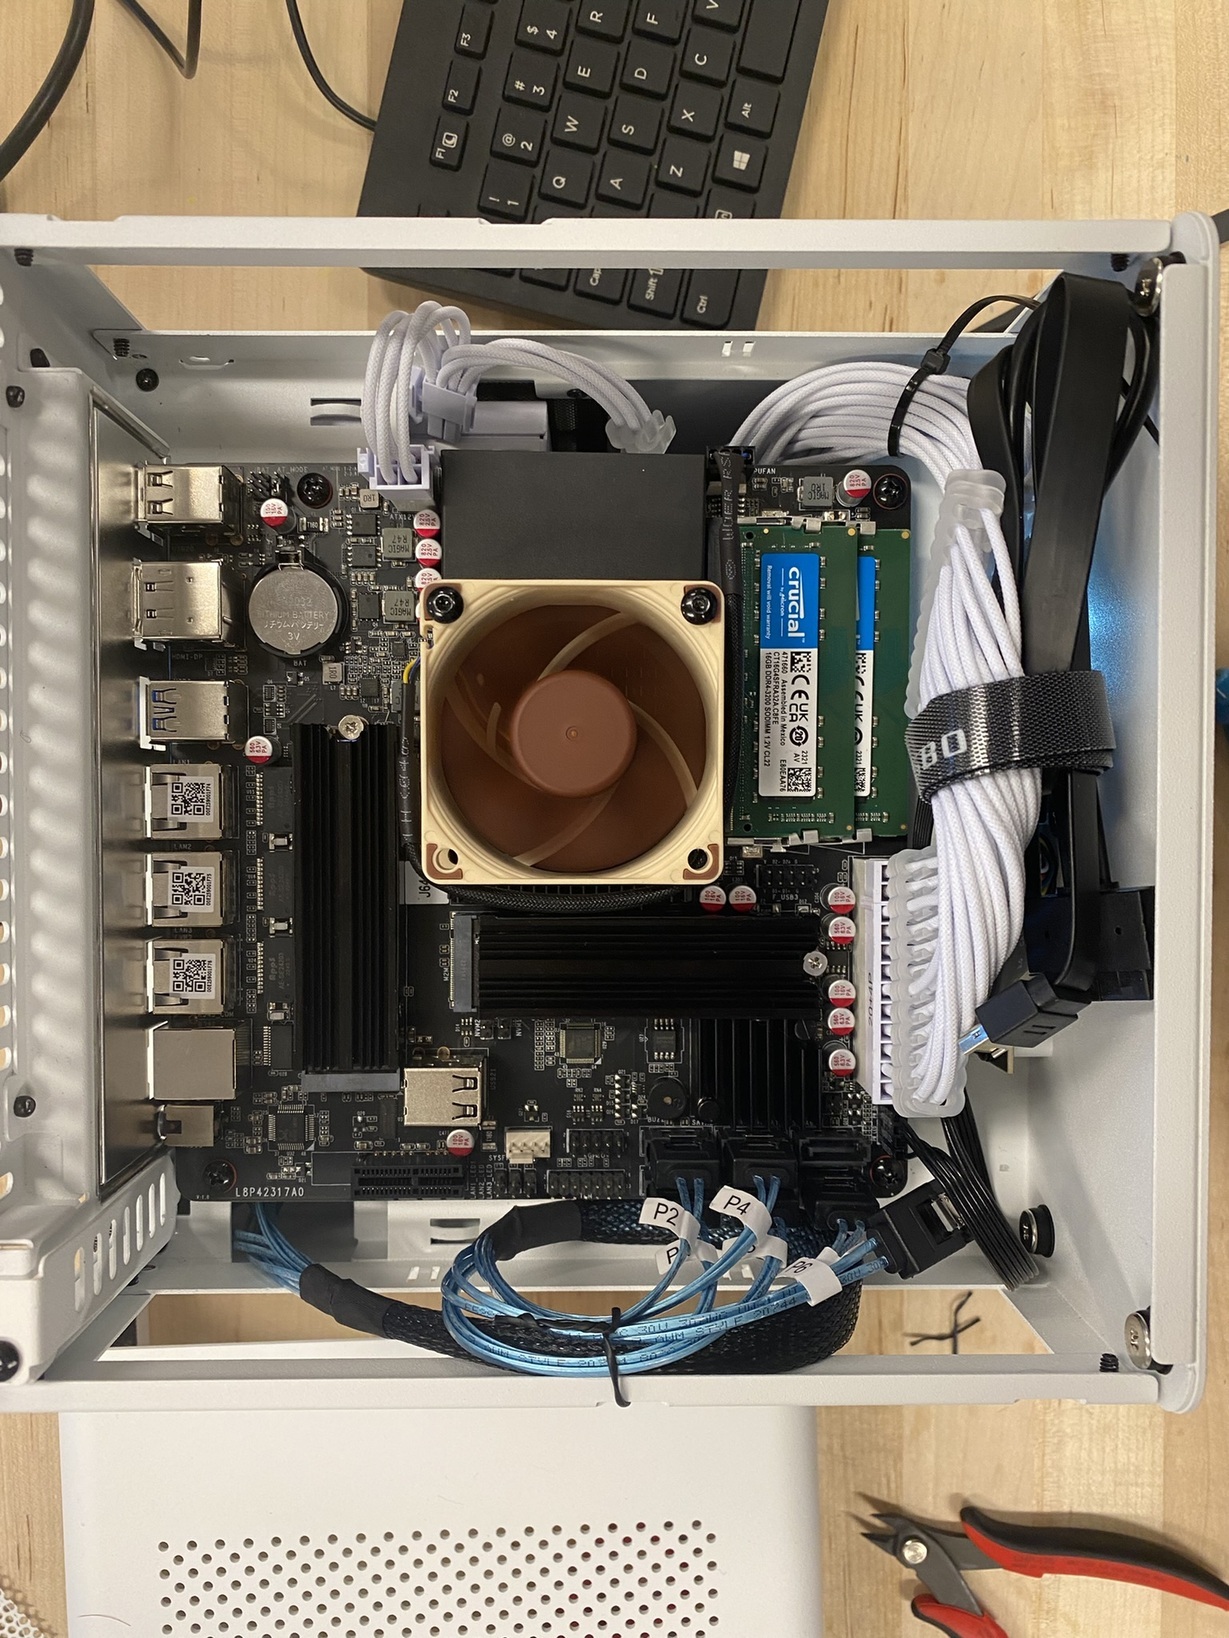
I then plugged in the power cables and SATA cables into the board. Cable routing as necessary.
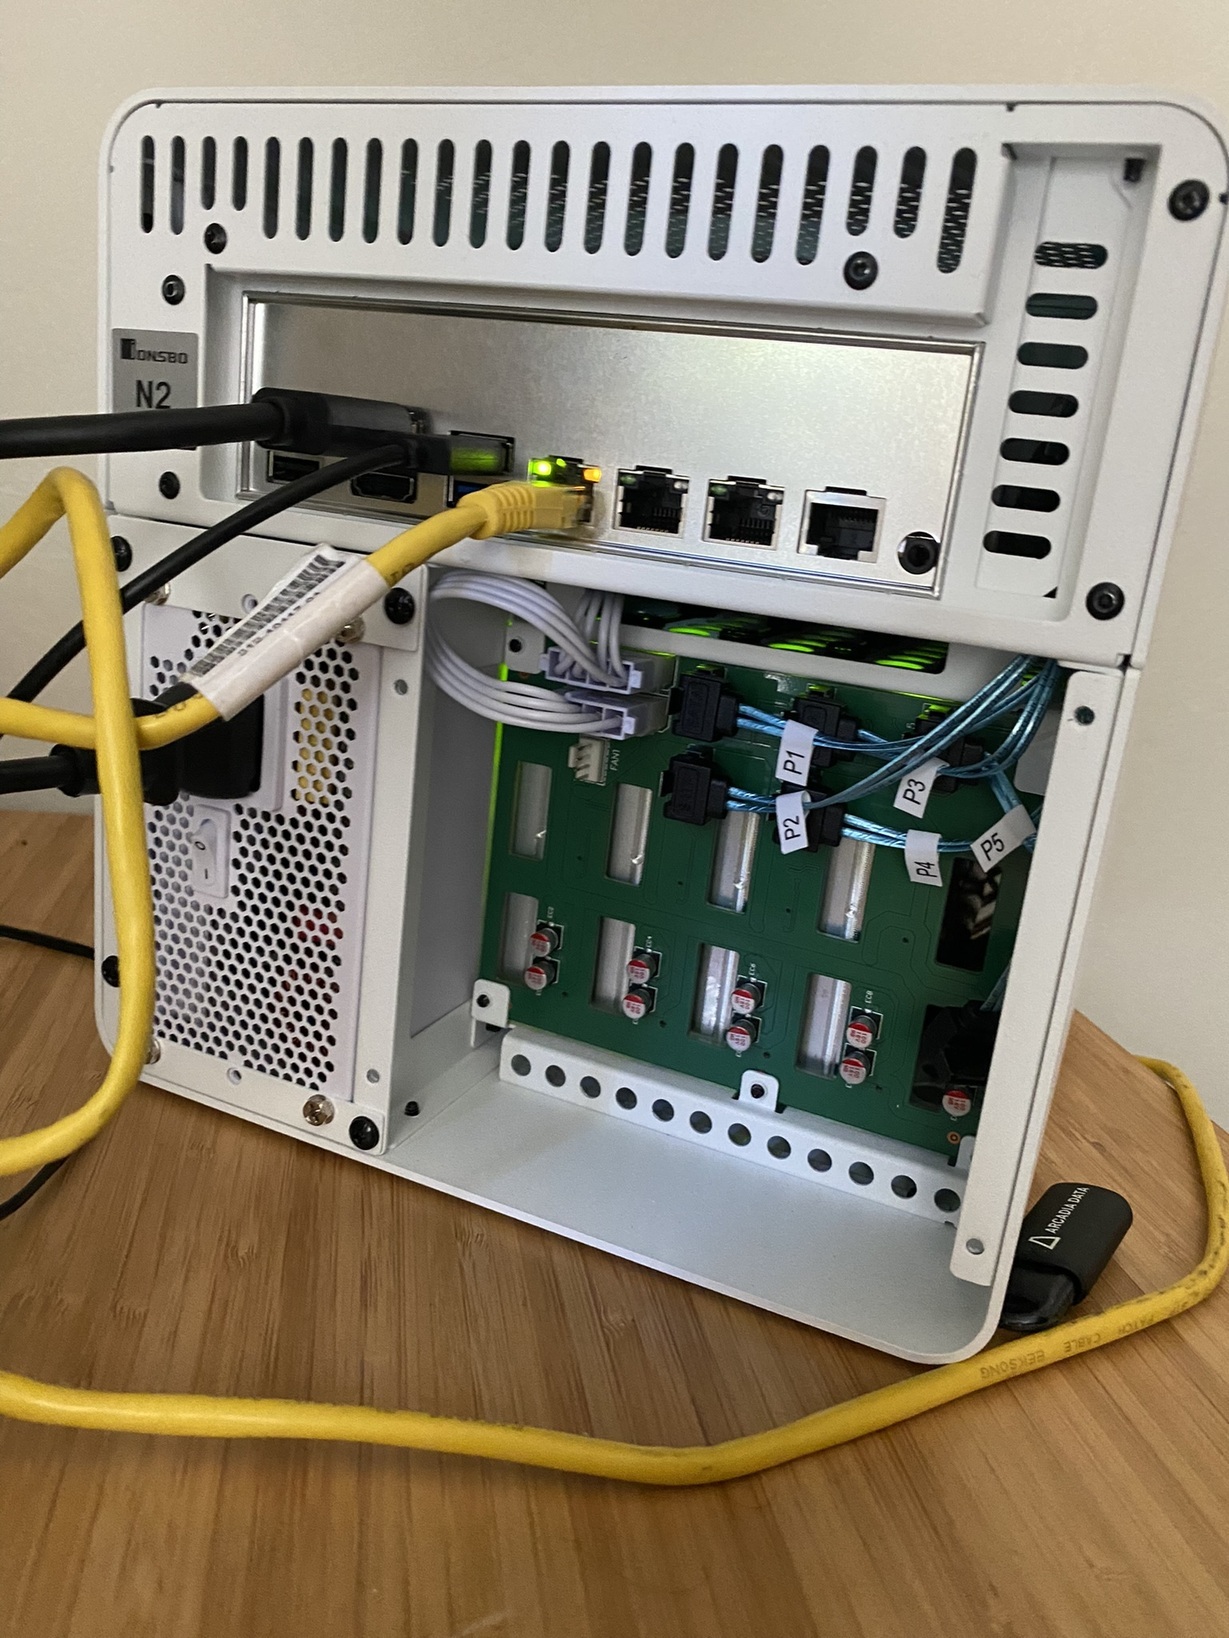
Step 3. Install Hard Drives
We’re almost done! Now to install the case provided mounting grommets and handles onto our HDDs, allowing them to slide into the front of the case and click into the back plane. It’s tool-less so you can hot swap drives without having to turn the system off!

And now we’re ready for first boot!
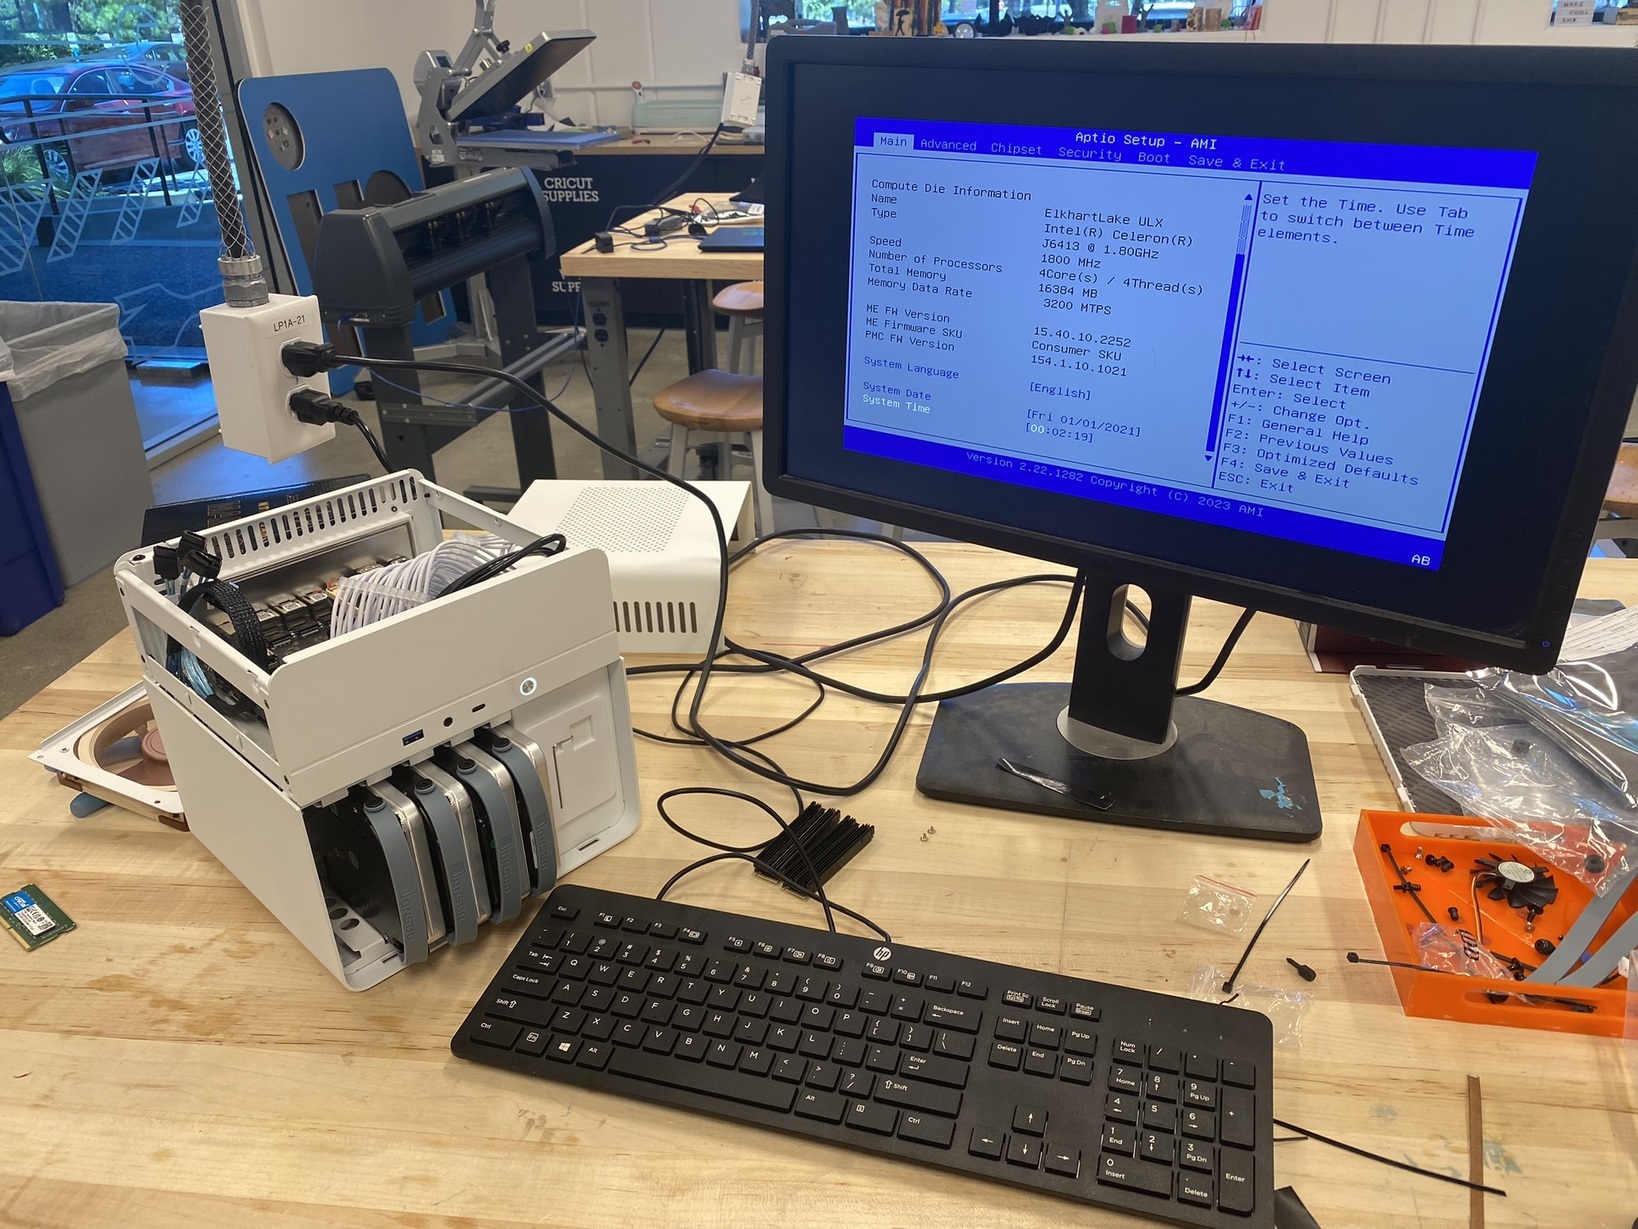
From this point, I installed Ubuntu 22.04 LTS from a flash drive and got to work setting up the system. I’ll probably write up my installation experience at some point in the future, but considering most people will just install TrueNAS or Unraid, this is kind of a niche setup anyways.
That’s it for this build, thanks for reading! Stay tuned for some benchmarking numbers once I settle on what software I want to use. If you’re interested in the additional modifications I made to this build, feel free to continue reading.
Addendum - Modifications
While this section isn’t strictly necessary, I decided to go the extra mile to ensure my system would be cool and functionally silent. These mods will require access to a dremel, 3D printer, and some basic fabrication skills
CPU Heatsink Noctua Mod
According to forums posts from others who purchased this board, the default heatsink and fan can cause thermal throttling while under load. Meaning the CPU will down clock to prevent any long term damage. As this system will be running 24/7 I don’t want to risk any additional heat prematurely compromising this board.
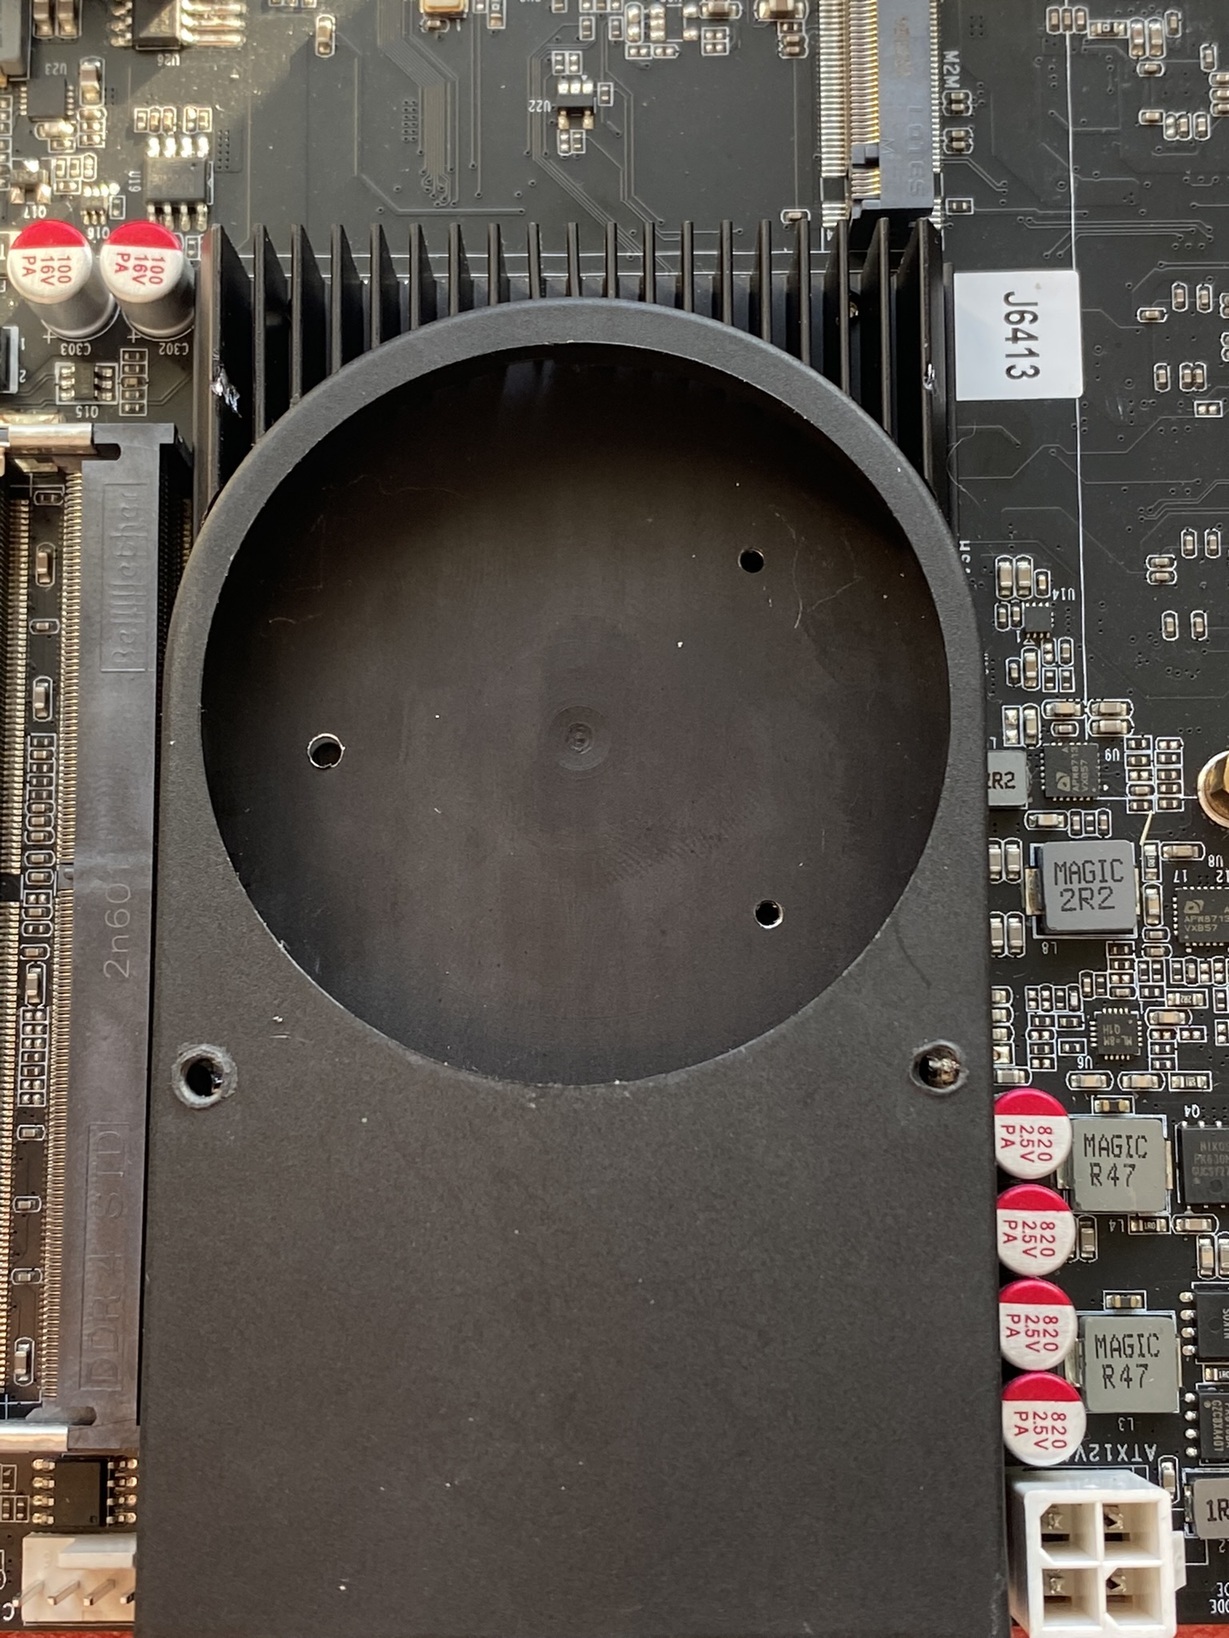
Heatsink Modifications
I unscrewed the heatsink + fan combo, cleaned the CPU, sanded and lapped the underside of the heatsink (probably unnecessary), and applied new thermal paste. I removed the stock fan from the heatsink as well.
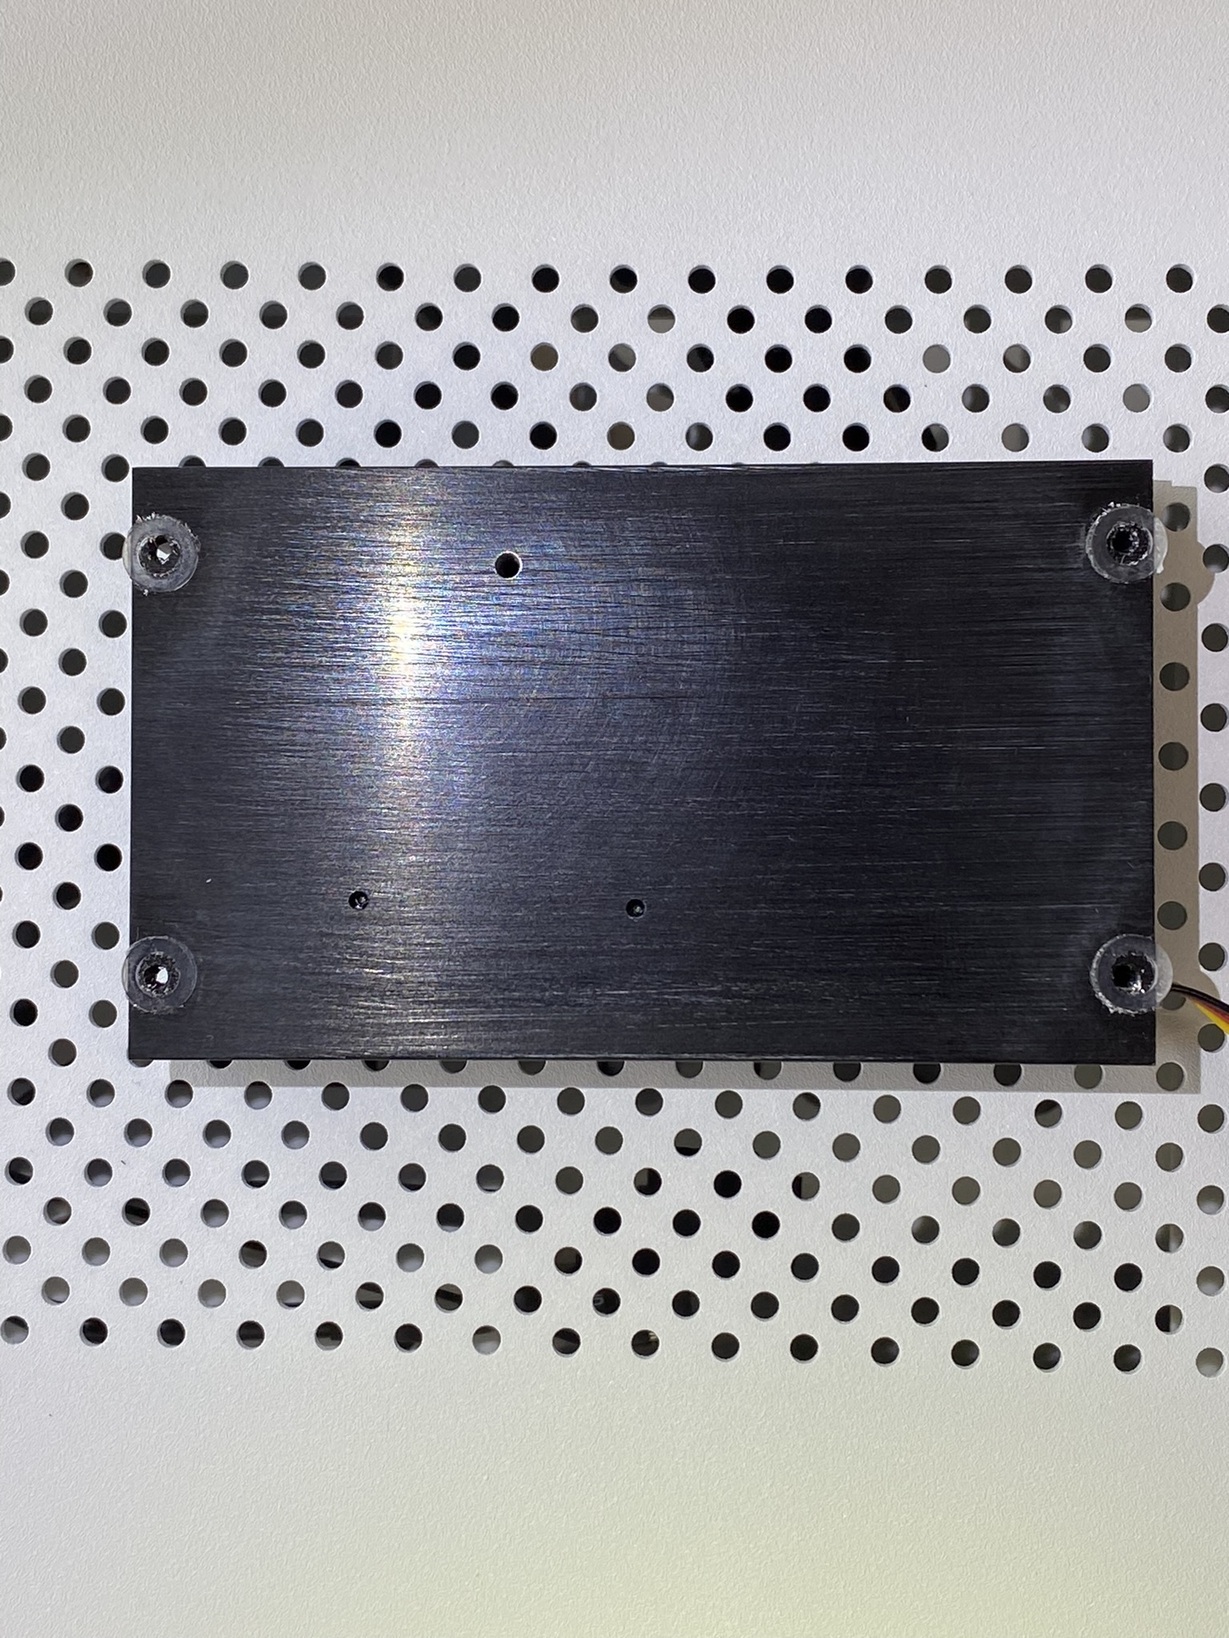
I then cut a 40mm aluminum heatsink down and used thermal glue to fill the space of the small fan.
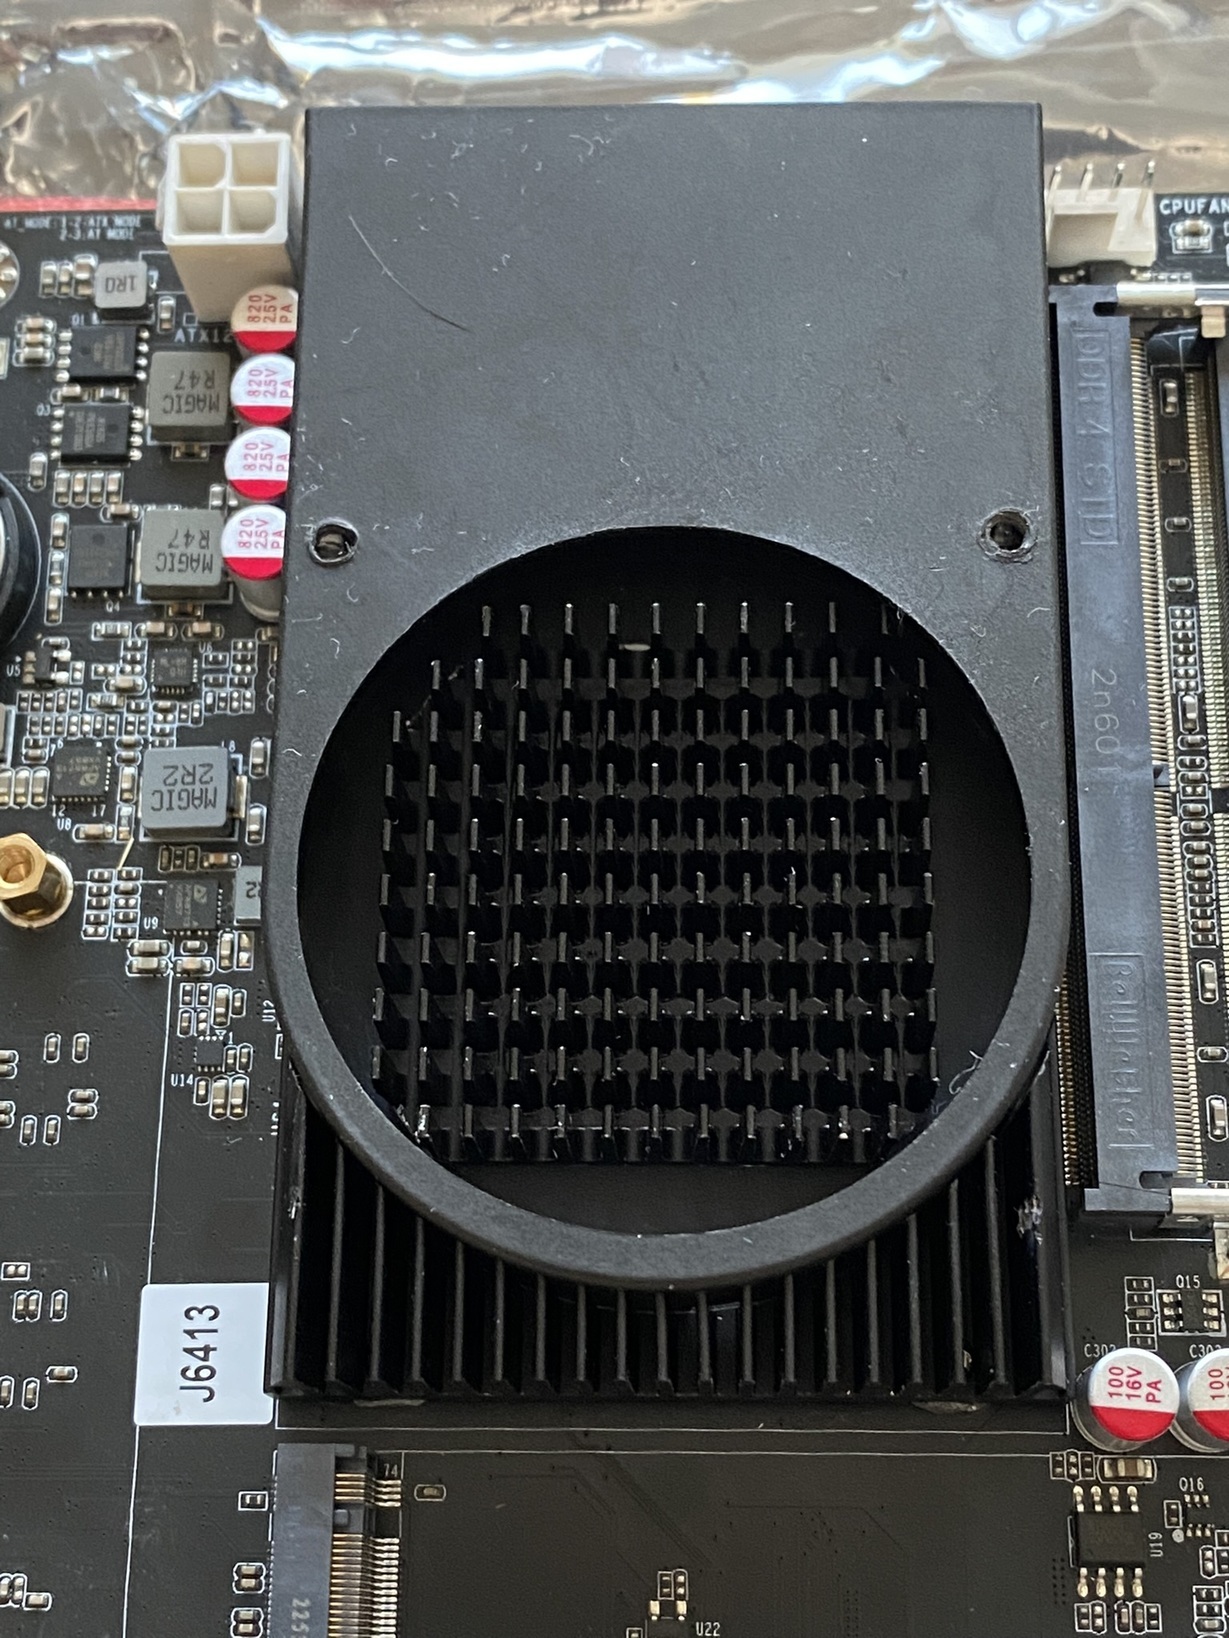
Noctua Fan Mounting
I carefully drilled pilot holes in the plastic heatsink shroud. I took some 3MM radiator screws and self tapped them through the new Noctua 60mm fan’s mounting holes. I had to take a dremel to the underlying heatsink to get clearance for these bolts.
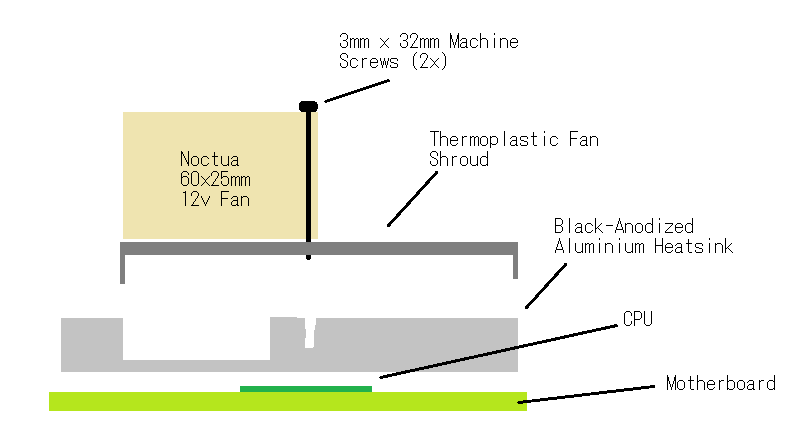
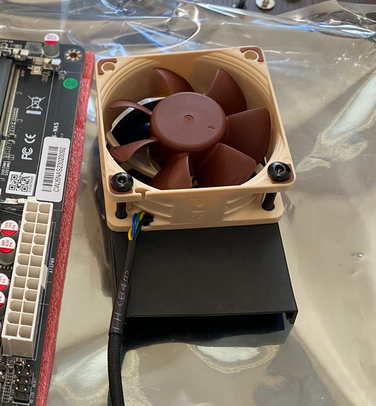
This new fan is a lot more quiet, and keeps the CPU cooler. Honestly knowing Noctua, this fan will probably outlast this entire system.
Case Fan Mod
For the case, the Jonsbo N2 only has one casefan at the rear. This fan needs a high static pressure because it’s pulling air across the large front grill, along the HDDs and out the back. Unfortunately the case is too shallow for a full size (25mm) fan. I found a 3d printable adapter that lets you put a quieter and higher performance fan on the back! I printed it off, and fitted it to the back.

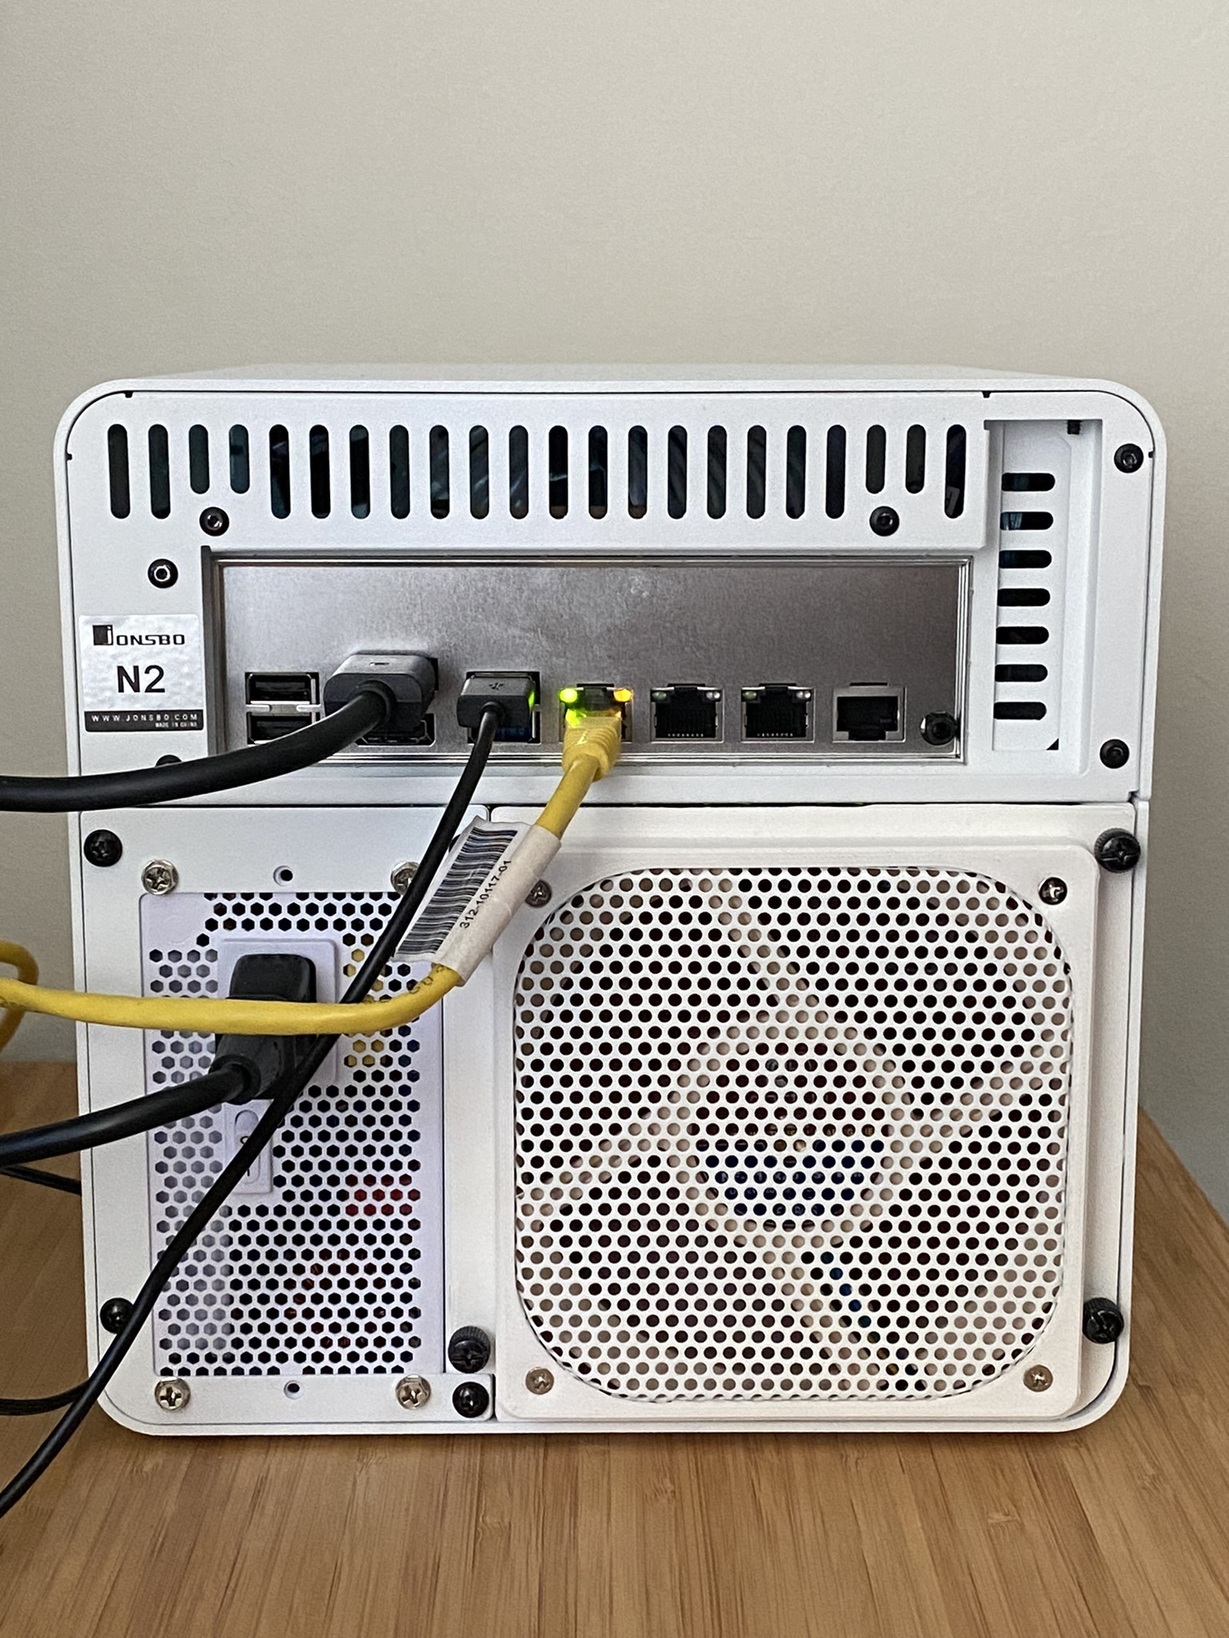
One thing to note, this fan runs off the SATA backplane’s power and runs at full speed all the time. I replaced the stock fan with another Noctua fan because they provide adapters to control the speed manually.
⧠